
Divi’s modules are incredibly flexible in their styling. Incorporating hover effects alongside more traditional design elements can elevate your pages from good to great—or from great to amazing. Today, we are going to walk you through taking a Divi gallery module that starts in grayscale and turns to color on hover (or touch on mobile). Let’s get started!
Create/Navigate to the Page with Divi Gallery Module
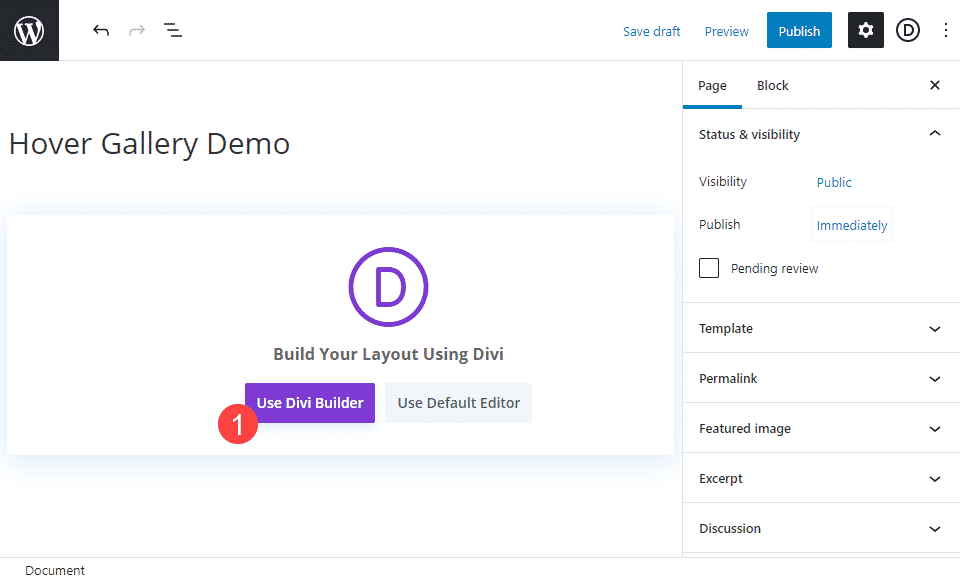
It may go without saying, but you will need to either create the new page or go to your existing page that you want to edit. Next, you will want to make sure that you use the Visual Builder.
If you are creating a new page or significantly altering an exiting one, you may want to load in one of our pre-made layouts. For this particular tutorial, we are going to use the pottery studio layout pack. Specifically, the gallery page for obvious reasons.
Replace Custom Gallery with the Gallery Module
As we begin, we will want to replace the custom gallery used in the layout pack with the Divi Gallery Module. You need to go into the second section and remove all the interior rows. Doing so will also delete any contained modules. Deleting the rows entirely here is just more efficient than deleting the individual modules.
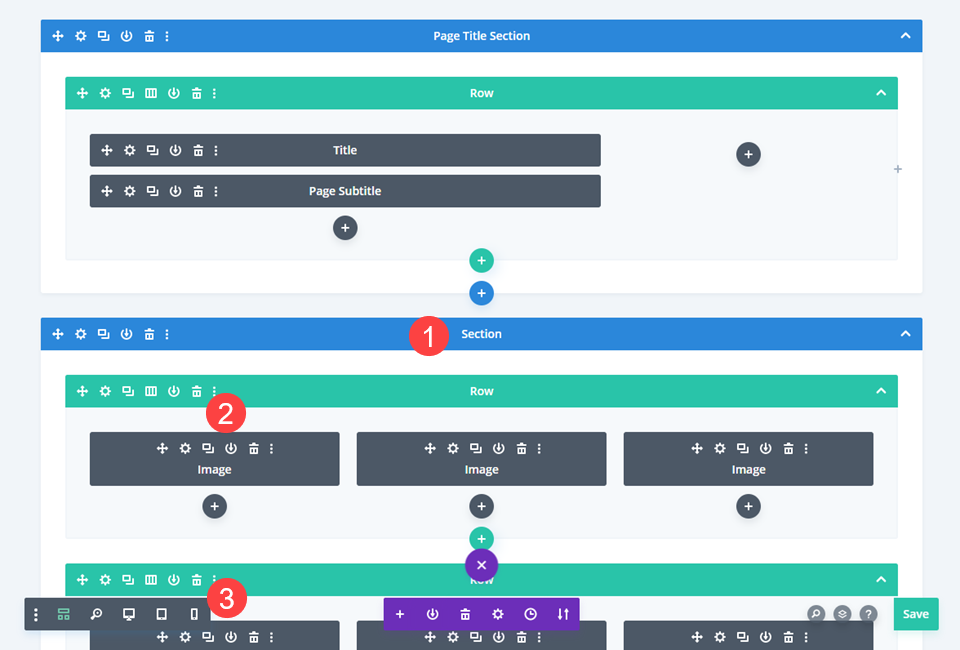
Add A New Row
Now, you will just add a new row to start our fresh, new design.
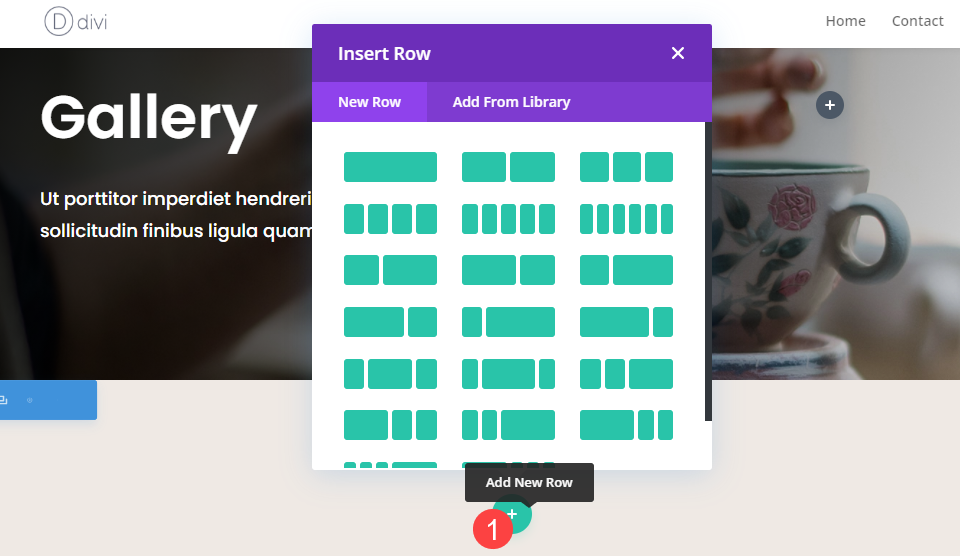
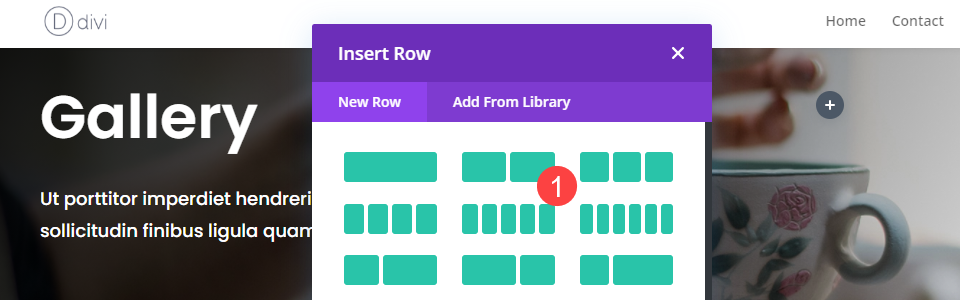
Select Row Structure
For this tutorial, we are going to use the 2-column layout, but you can choose whatever works best for your site.
Add Gallery Modules
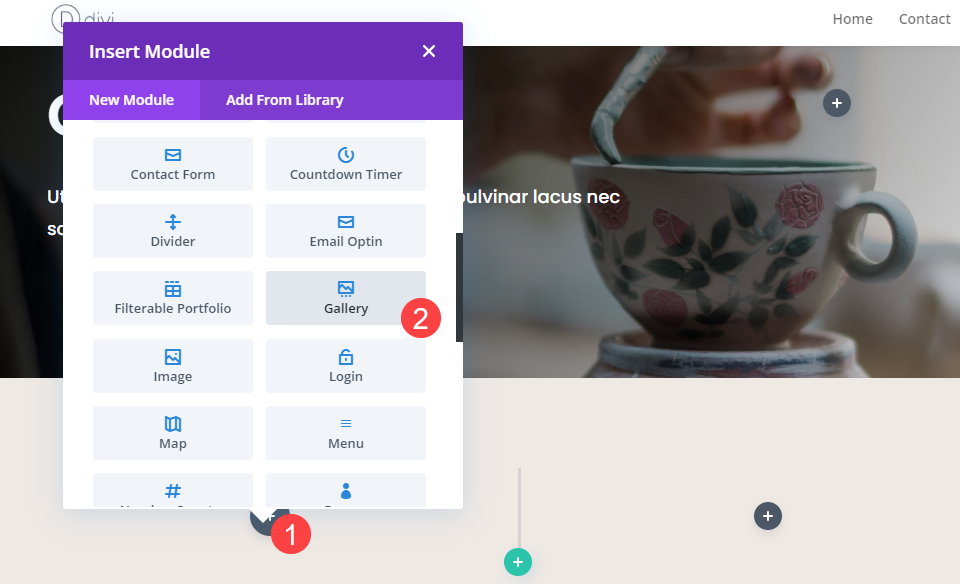
Next, you will want to add the Divi Gallery Modules to however many columns that you have included. (Or as many as you want them in.)
Upload Images and Style Gallery
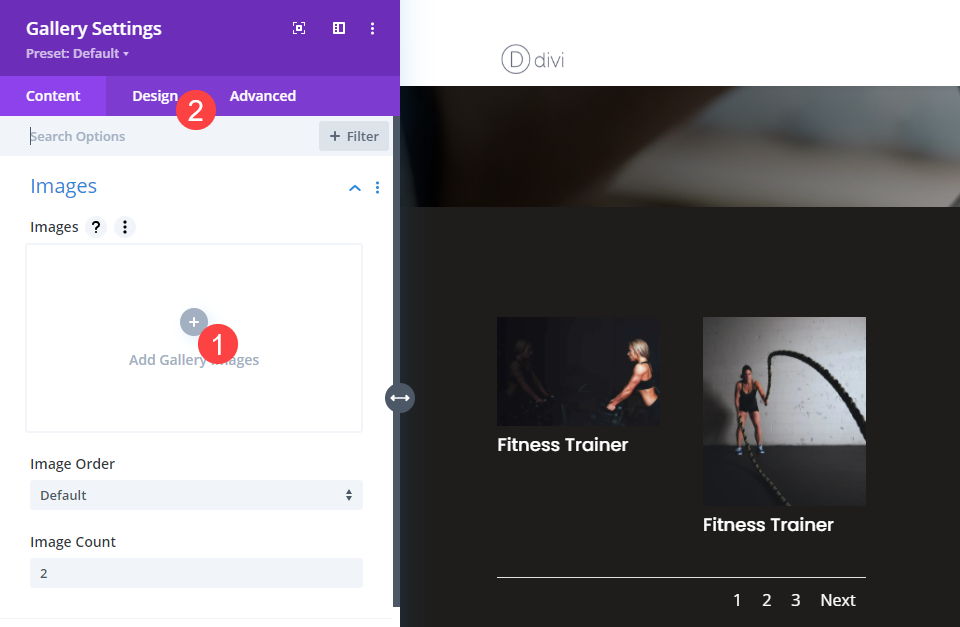
Since we’re using a new gallery, we will want to not only add the images that we want to display, but also style the gallery to match the page we’re working on.
Adjust the Text Styles
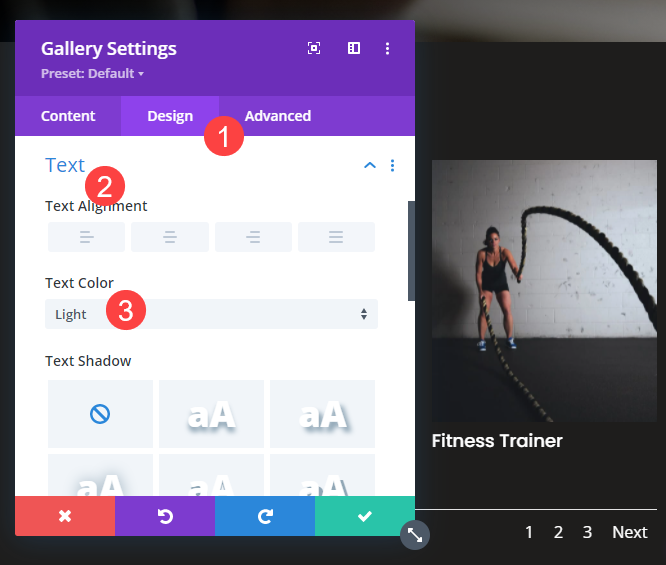
Because the pottery studio gallery is a dark-themed layout pack, we want to go to the Text settings under the Design tab to change the Text Color to light so users can read it.
Changing the Font
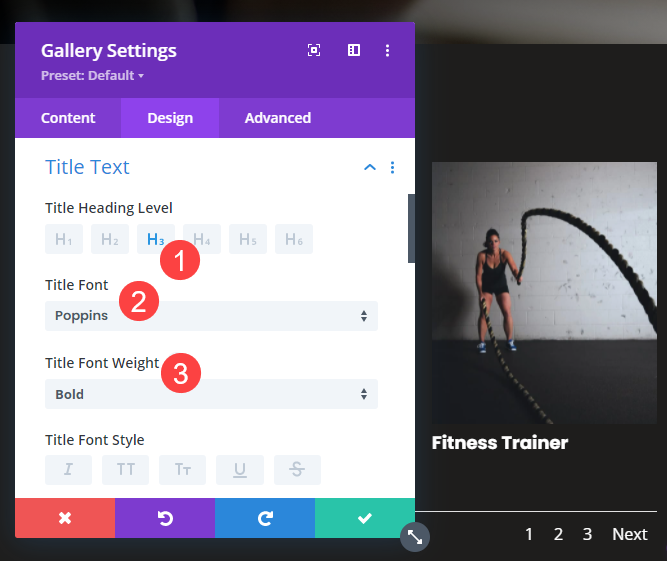
We adjust the default font for the titles of the images to be Poppins over the default and set them to bold.
Apply the Grayscale to Color Effect
Now it’s time to get into the nuts and bolts of the effect itself. It only takes a few simple steps to create the grayscale-to-color hover effect.
Change the Overlay Icon and Background Color
Next up, you will want to navigate to the Overlay section of the Design tab. Adjust the Overlay Icon Color to something that matches the design of your page. We used #fdb467 for this example. It is used as a color in the rest of the pottery studio layout pack.
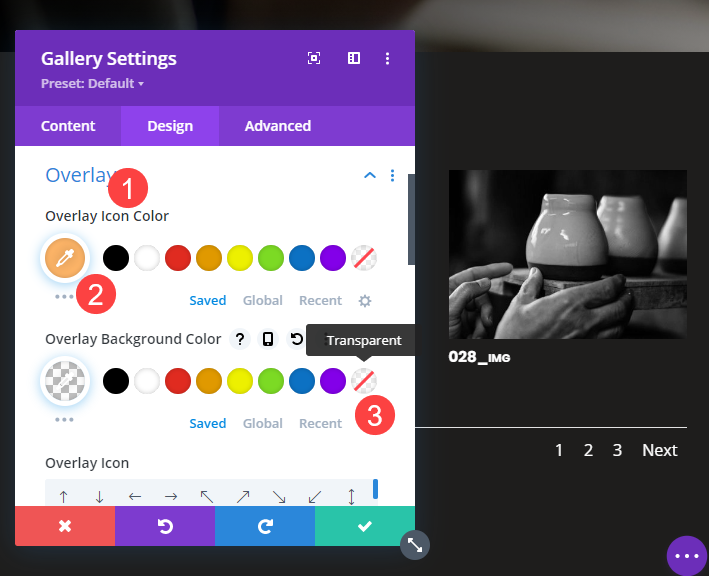
You then want to adjust the Overlay Background Color to be Transparent.
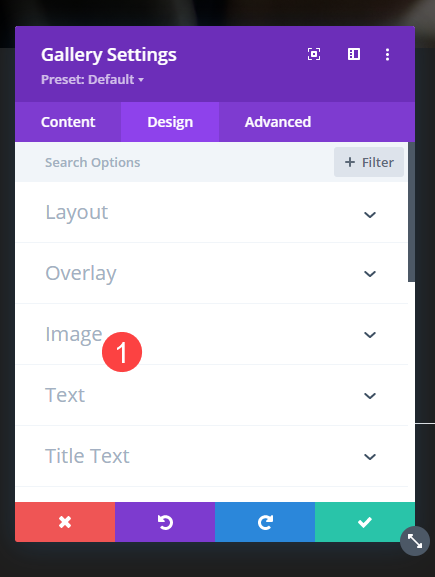
Image Settings
You will now go to the Image Settings section in the Design tab, a bit further down.
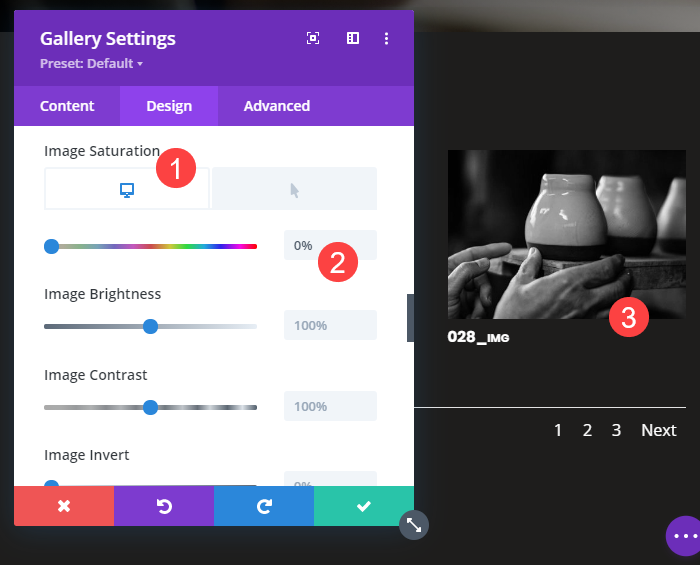
Change Default Saturation
Inside the image settings, find the saturation slider. You will adjust this down to 0%. Doing so will immediately render your images in that gallery in grayscale.
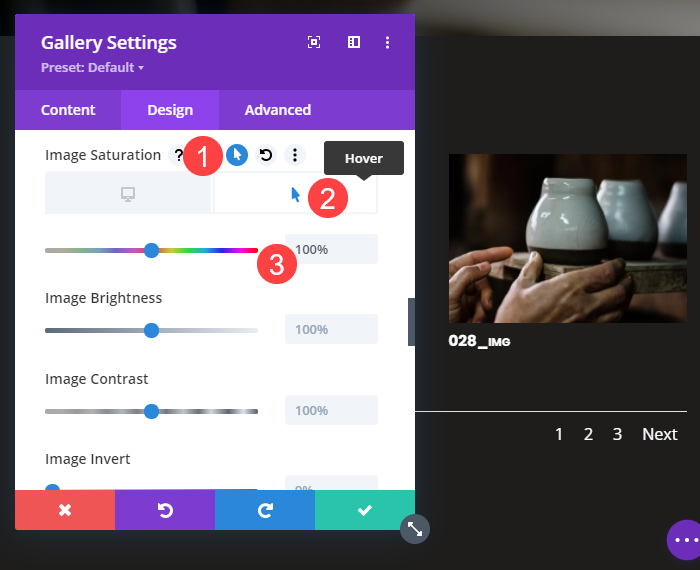
Apply Saturation to Hover
Hover over the Image Saturation slider and find the icon that looks like an arrow. Click it, and you can now adjust the specific settings for on-hover effects. For this example, we have set it back to 100% saturation because that is the normal photo. However, if you want the image to hover even more vibrantly, you can adjust the saturation even higher and adjust any of the other image settings.
As long as the base saturation is 0, and the hover saturation is higher, the transition will work to the intensity you choose.
Save your module settings and page, and your grayscale-to-color hover effects should be working. You might have to leave the Divi builder to test the hover effects because of element selection. So if you don’t see the hover preview change, don’t fret. Exit the builder, and it will work.
Additionally, if you want a color image to become grayscale, simply reverse the steps here. Set the normal saturation to 100%, but lower the hover saturation too 0%. That will drain the color whenever someone clicks or taps the gallery image.
Effect Preview

The transition can be seen between 1 and 2, while 3 is an example of the default gallery hover overlay and design settings. You can see the effect in motion on desktop and mobile below.
Mobile
Conclusion
Creating a grayscale-to-color effect using Divi’s hover options is quick and easy. With just a few clicks and slider adjustment, you can take our default styling and turn it into something that matches your site perfectly. Image galleries appear on nearly every site, so many users can become blind to them unless they’re specifically seeking out that content. By using this effect, you will have a microinteraction that draws their eyes to your gallery and keeps them engaged with your site.
What do you think? Let us know in the comments!