In this post, we’ll take a closer look at object caching and how it works. We’ll then show you how to use the WordPress object cache on your site. Let’s get started!
What Is Object Caching?
Caching is the process of storing data and files in a cache. When a user visits a page, the content is delivered quicker since the browser doesn’t need to retrieve the entire site from scratch.
There are different types of caching. You may have already heard of page caching. This is when the browser stores static HTML versions of a page.
However, there’s also object caching. This process involves storing database queries to serve a specific piece of data on the subsequent server request. As a result, there will be fewer queries sent to the database.
Object caching is a type of server-side caching. This term means that the cache is stored on the server, not on the user’s browser (as with client-side caching).
Let’s break down the process:
- When a user accesses your site, their browser sends a data request to your server.
- The server receives the request and delivers the data (or object) to the browser.
- If you have object caching enabled on your site, the server will create a copy of this request in your cache.
- When a similar request is made again, it will be served from the cache rather than the database.
Therefore, object caching minimizes the number of times the server has to query the database. This setup can reduce the load on your server, especially during peak traffic times. Therefore, it can lead to faster loading times and a smoother User Experience (UX).
What Is the WordPress Object Cache?
WordPress has a built-in object cache. WP_Object_Cache is a WordPress class that can automatically store any data from the database in PHP memory. This way, it can prevent repeated and unnecessary queries to the database.
These cached objects can be accessed and retrieved using a key. This is a unique value that identifies a particular entry in the database.
By default, the WordPress object cache is non-persistent, meaning that it only stores data for a single page load. The objects in the cache will be discarded once the request is over.
For this reason, you might want to consider using a persistent caching tool. With this tool, objects will be cached across multiple page loads, further improving performance. We’ll take a closer look at this setup later in the post.
How to Use WP_Object_Cache on Your Site
Now that you have a better understanding of object caching and its importance, let’s look at how to enable it on your WordPress site. Note that this caching mechanism should already be enabled by default. However, you might want to make sure it’s working correctly.
To get started, you’ll need to connect to your site’s back end via an FTP client like FileZilla. Alternatively, you can use the file manager in your hosting account dashboard.
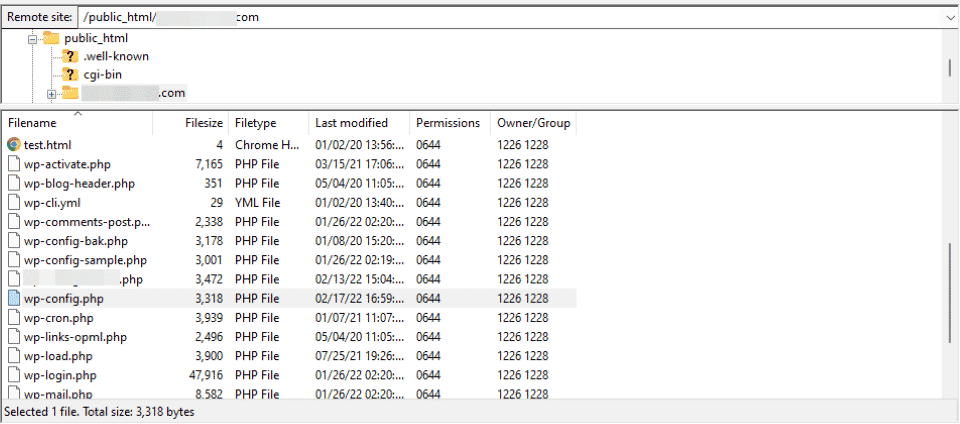
Once you’ve connected to your site, navigate to the root directory (usually public_html) and locate the wp-config.php file:
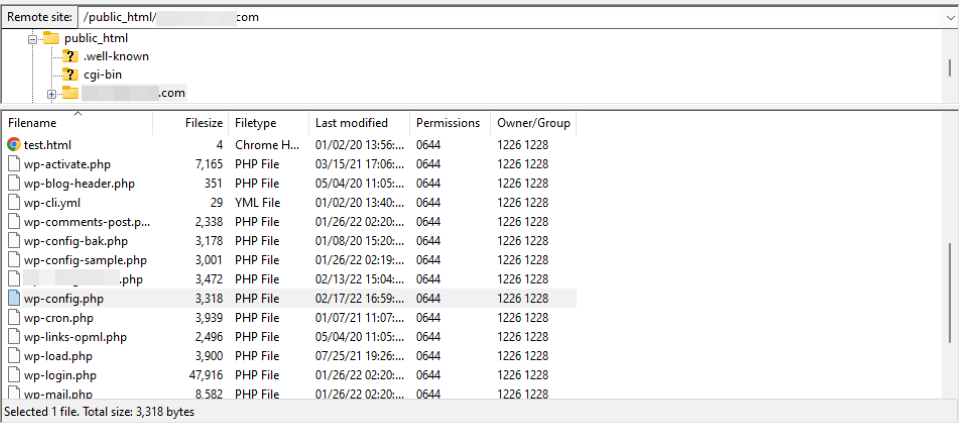
Right-click on the file and select View/Edit to open it in a text editor. Then, make sure that the value for ENABLE-CACHE is set to “true” so that the line looks like this:
define('ENABLE_CACHE', TRUE);
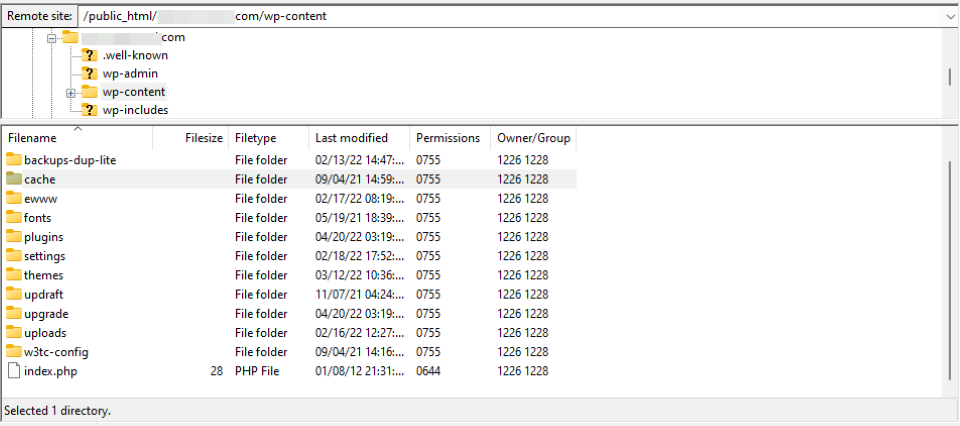
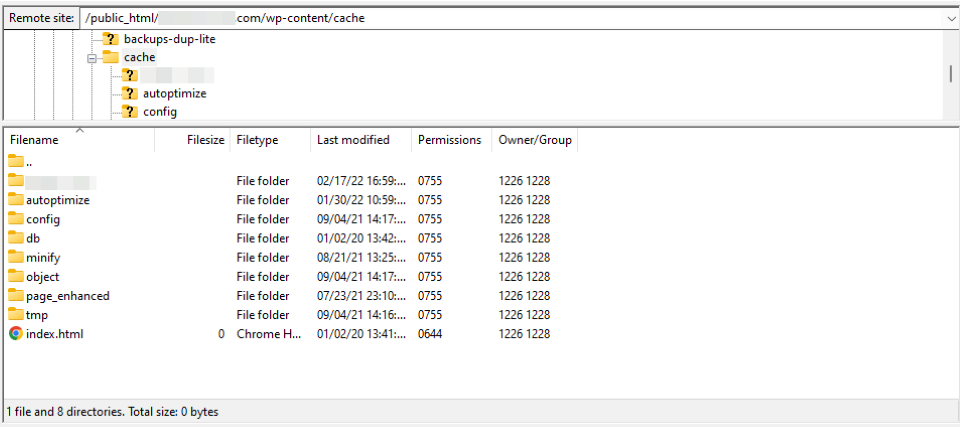
When you’re ready, save your changes and close the file. Then, open the wp-content folder in your site’s directory, and look for the cache folder. If it’s not there, you can go ahead and create one:
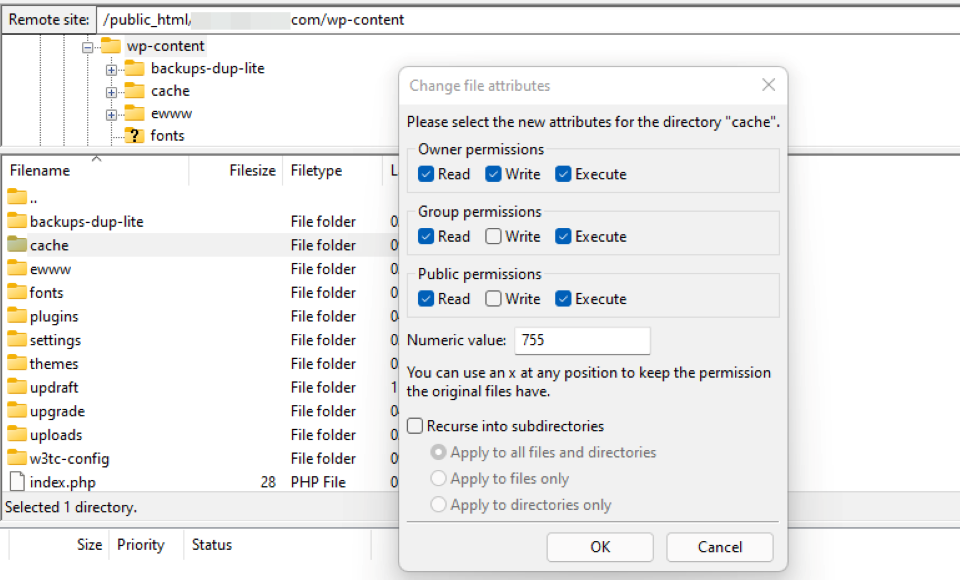
Next, you’ll want to see the folder’s permissions to ensure it’s writable. To do this, right-click on the folder and select File permissions. The Numeric value field should be set to 755 or 777:
Now, it’s time to verify that the WordPress object cache is working correctly. Go to your website and try reloading a few pages. Then, open the cache folder you’ve just created, and you should find some newly created files:
That’s it! If you decide to disable the object cache in the future, just open the wp-config.php file and set the value for ENABLE-CACHE to “false.”
Adding a Persistent Caching Tool
As mentioned earlier, the WordPress object cache only stores data for the duration of the request. However, you can use an additional tool such as Redis for persistent object caching between requests:
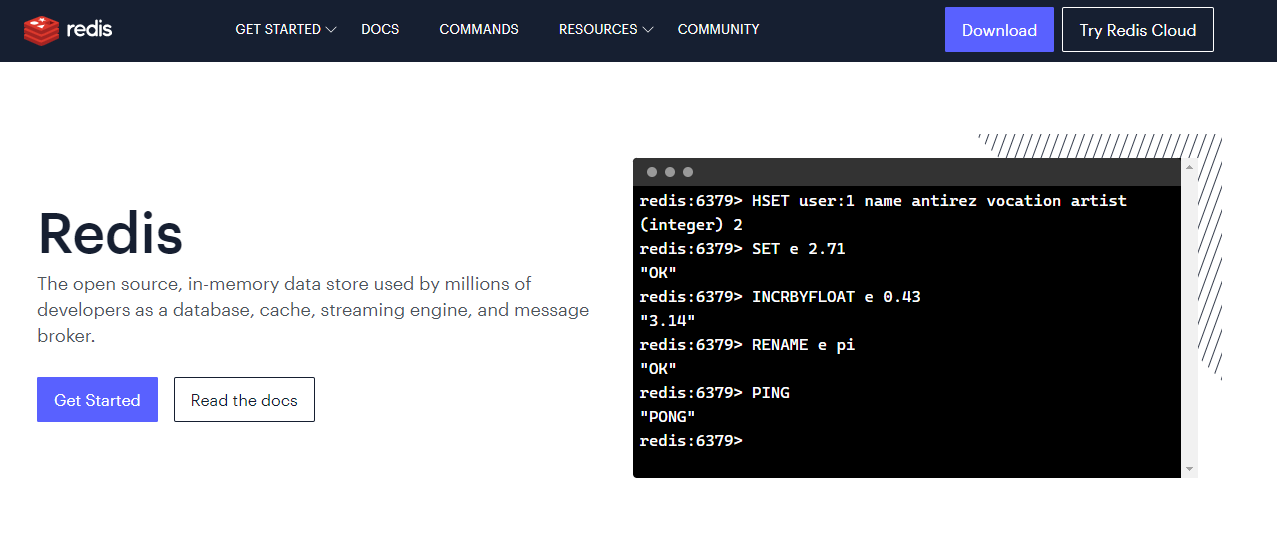
Redis is a powerful in-memory caching solution that can help reduce the load on your MySQL database, leading to faster response times. It can be an essential tool for your site if you’re scaling up or receiving higher traffic.
If you’re on a managed WordPress hosting plan, you might want to ask your web host if they offer object caching via Redis. Some hosting providers like Cloudways offer a Redis add-on to help speed up your website. However, you can also install the Redis server manually on your computer.
Once you’ve connected to Redis, you can add the Redis Object Cache plugin to your site:

After installing and activating the plugin, navigate to Settings > Redis in your dashboard:
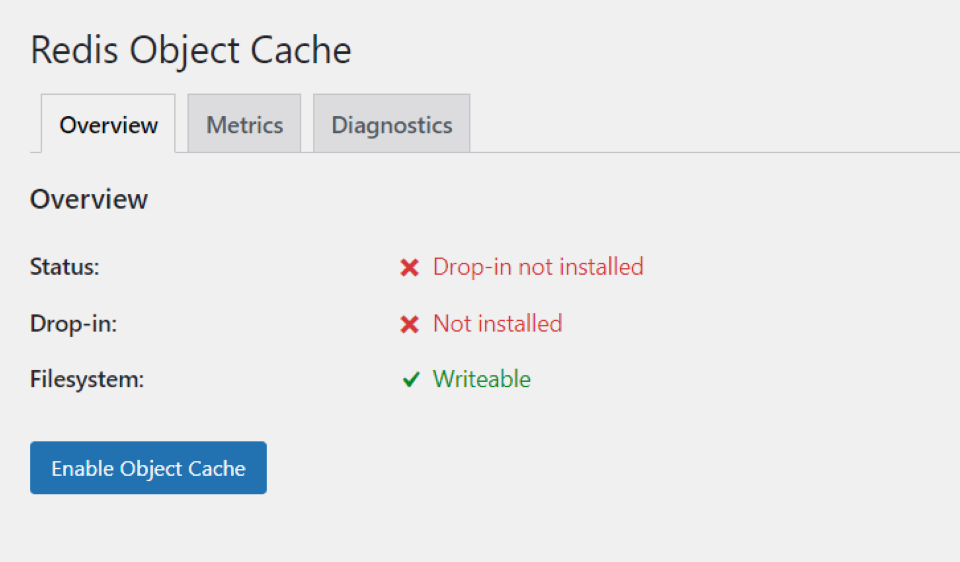
Make sure the server has been successfully installed. If you’re unable to connect, you might want to verify with your web host that your site’s server is compatible with Redis. Finally, click on the Enable Object Cache button.
Conclusion
Object caching involves storing database queries. The server can then deliver similar data requests from the cache, minimizing the number of queries sent to the database. This setup can lead to faster response times.
WordPress has an in-built object caching mechanism known as WP_Object_Cache. However, this feature only stores data for the duration of the request. For persistent object caching, you’ll need to install a tool like Redis. It can further reduce the load on your server and speed up your site.
Do you have any questions about the WordPress object cache or WP_Object_Cache? Let us know in the comments section below!
Featured image via hanss / shutterstock.com