Divi’s Fullwidth Header Module includes lots of image style options, letting Divi users create beautiful images and layouts for their headers. The header image can be styled in many ways to create interesting layouts and designs. It gets even more interesting when it’s coupled with the various text and button designs. In this post, we’ll see how to style an image in your Divi Fullwidth Header Module and share three examples to help you design your Fullwidth Header Module.
Let’s get started!
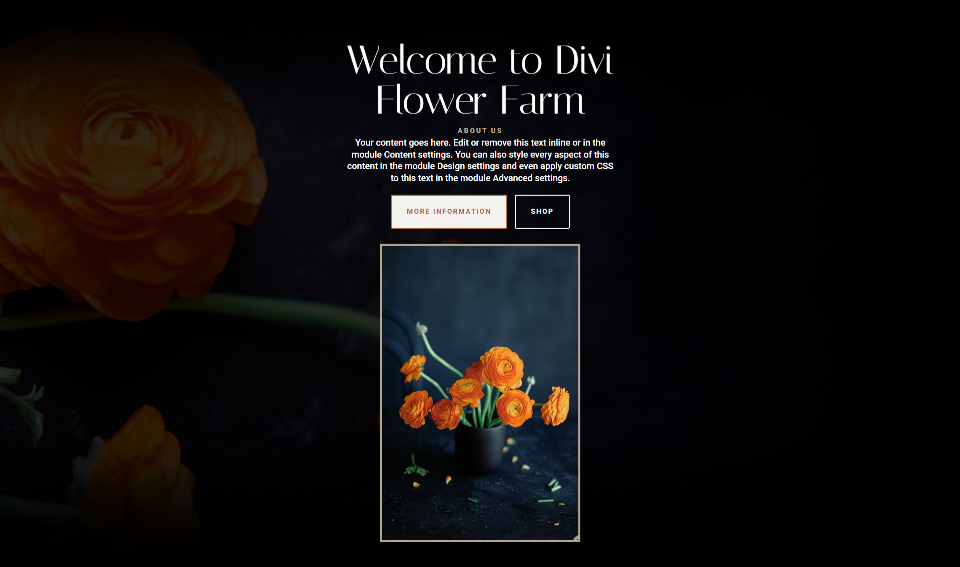
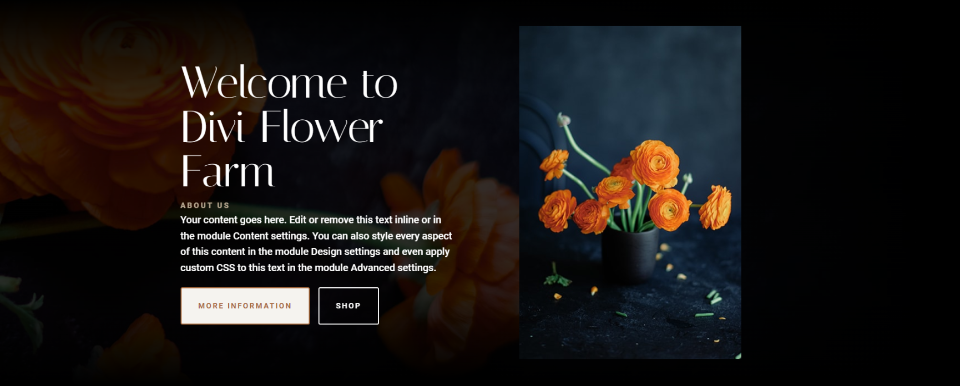
Preview
Desktop Fullwidth Header Image Example One
Phone Fullwidth Header Image Example One
Desktop Fullwidth Header Image Example Two
Phone Fullwidth Header Image Example Two
Desktop Fullwidth Header Image Example Three
Phone Fullwidth Header Image Example Three

Add an Image to Your Fullwidth Header
Here’s the full-width header that we’ll use in this example. First, let’s see how to build it. We’re using images and design queues from the free Flower Farm Layout Pack that’s available within Divi.
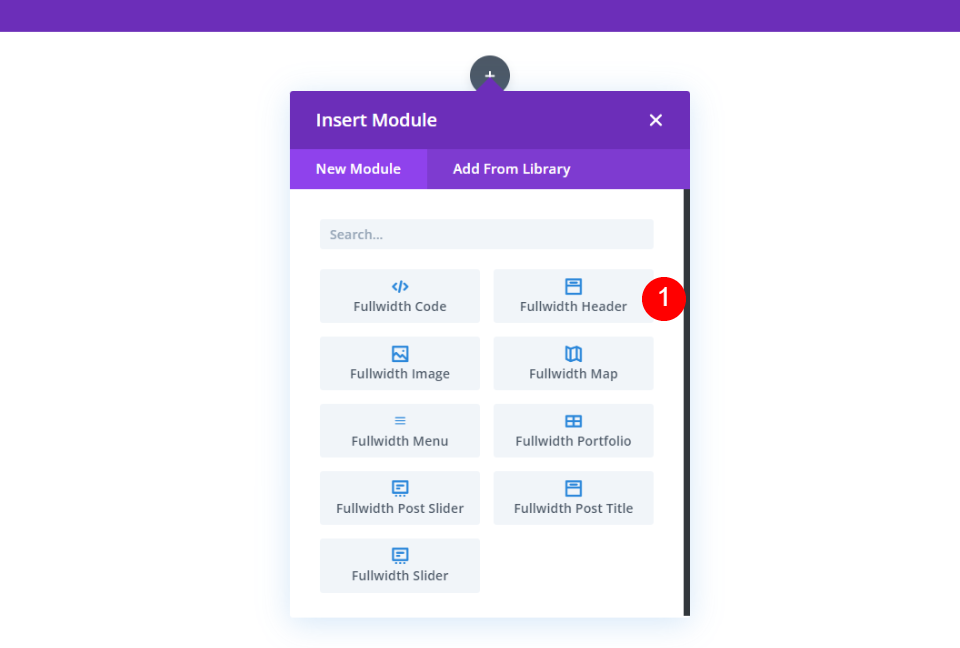
To add the Divi Fullwidth Header module to your page, you’ll need a new section container with a one-column row. Once you have that, add the Fullwidth Header Module to your row’s column.
Fullwidth Header Text
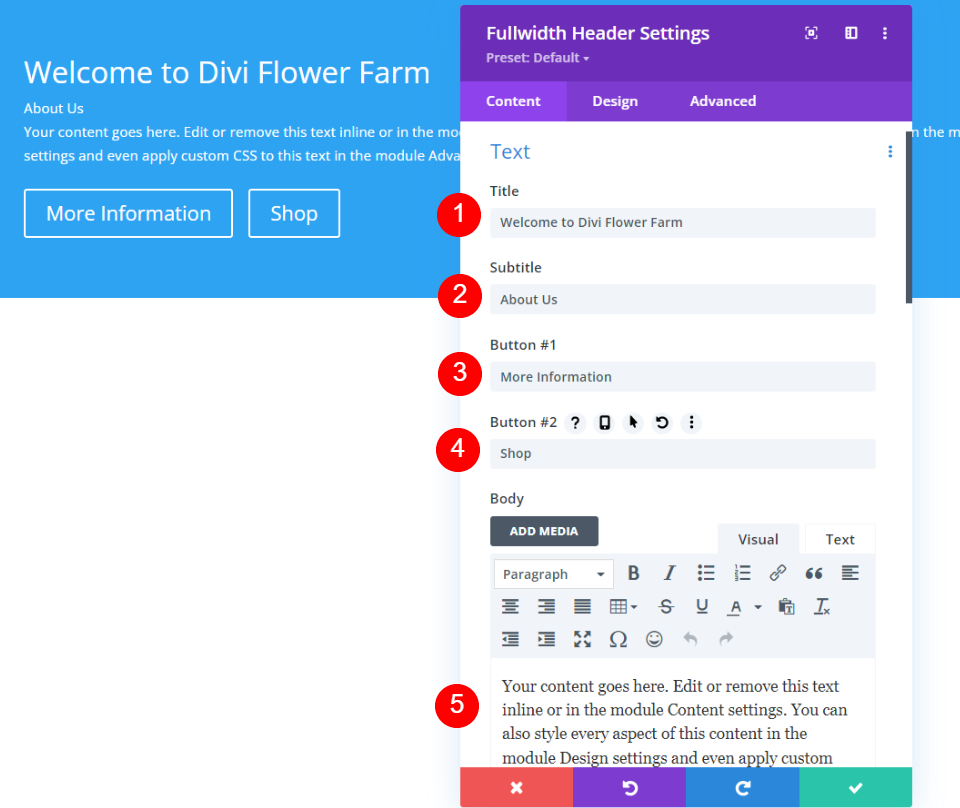
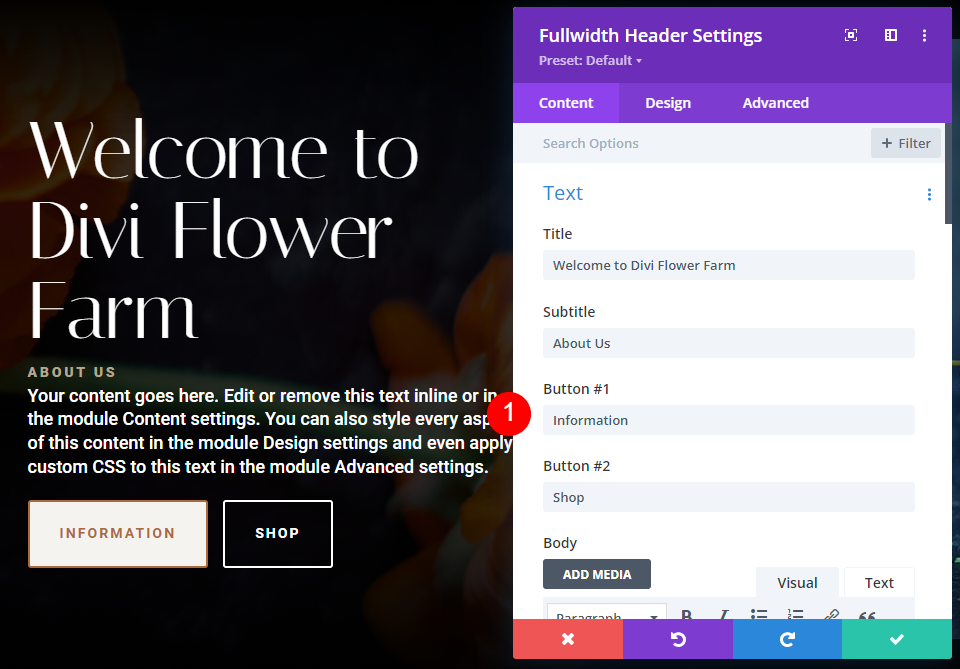
Next, add your Title, Subtitle, Button One text, Button Two text, and Content.
- Title: Welcome to Divi Flower Farm
- Subtitle: About Us
- Button One: More Information
- Button Two: Shop
- Content: your text
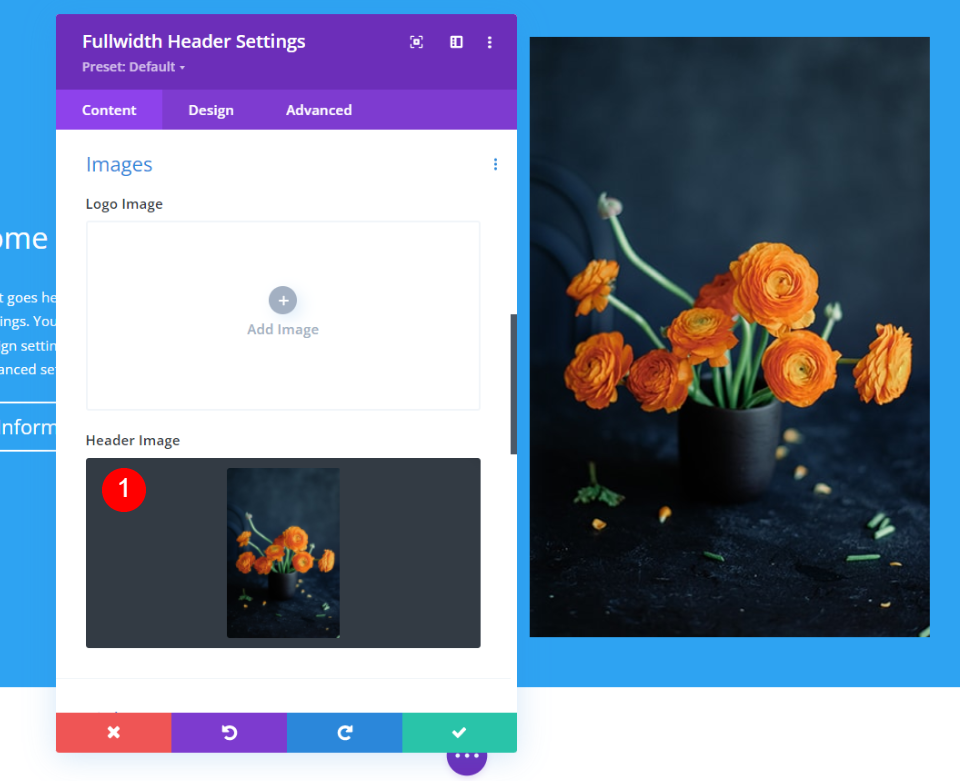
Header Image
Scroll down to Images, choose Header Image, and add your image.
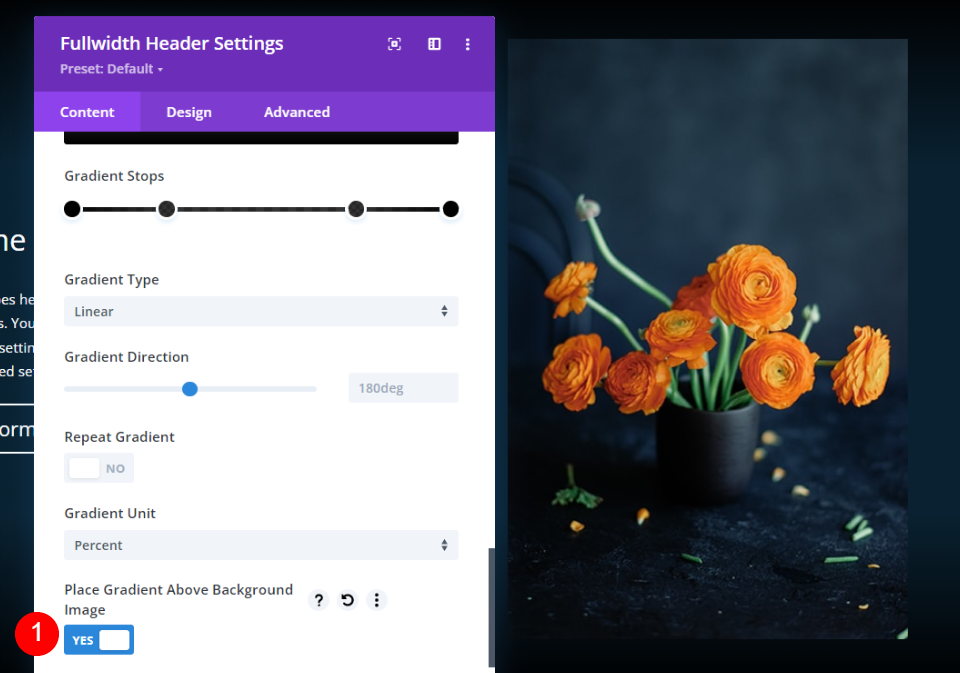
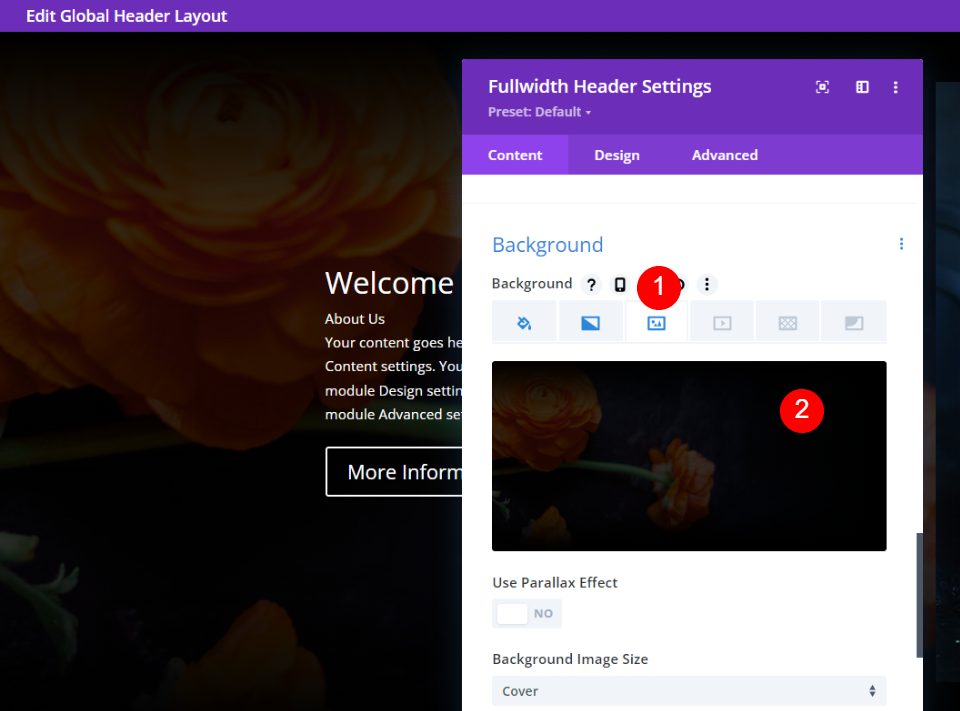
Background
Next, scroll down to Background, select the Gradient tab, and add four Gradient Stops:
- Gradient Stop 1: 0%, #000000
- Stop 2: 25%, rgba(0,0,0,0.8)
- Gradient 3: 75%, rgba(0,0,0,0.8)
- Gradient 4: 100%, #000000

Next, enable Place Gradient Above Background Image. Leave the other settings at their defaults.
- Place Gradient Above Background Image: Yes
Select the Background Image tab and add your image. Next, we’ll style the Fullwidth Header Module.
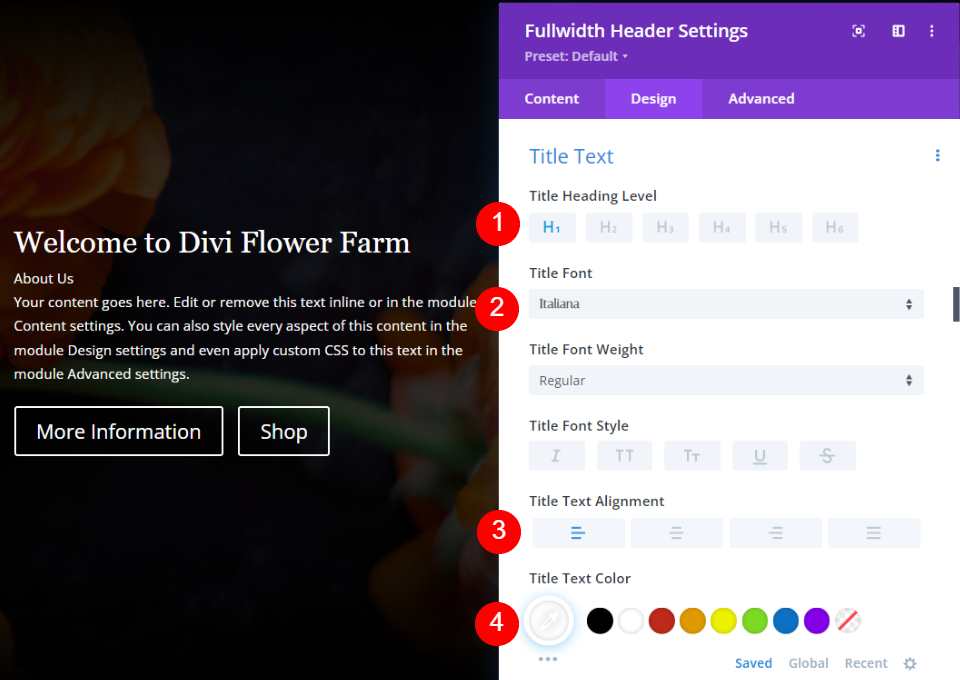
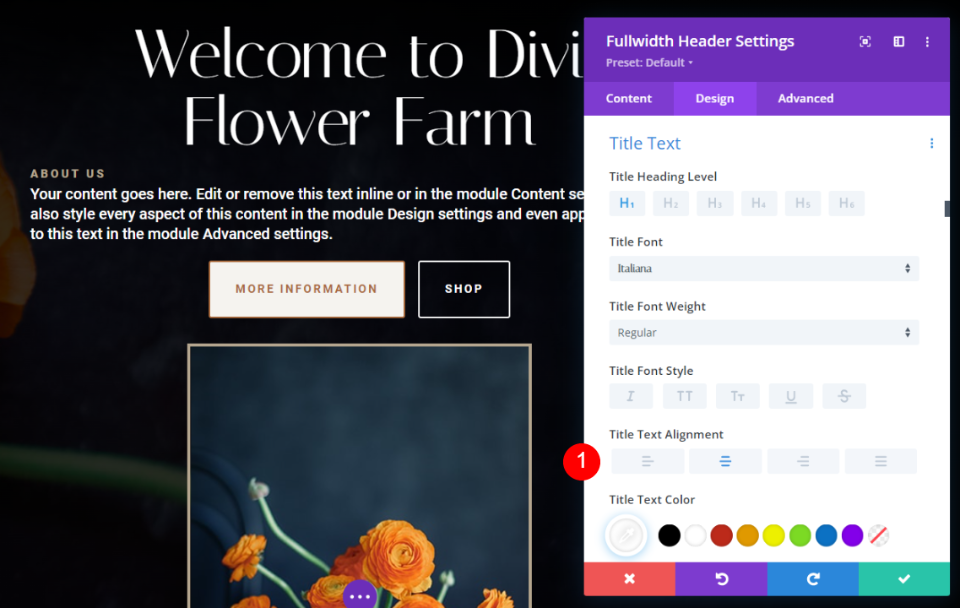
Title Text
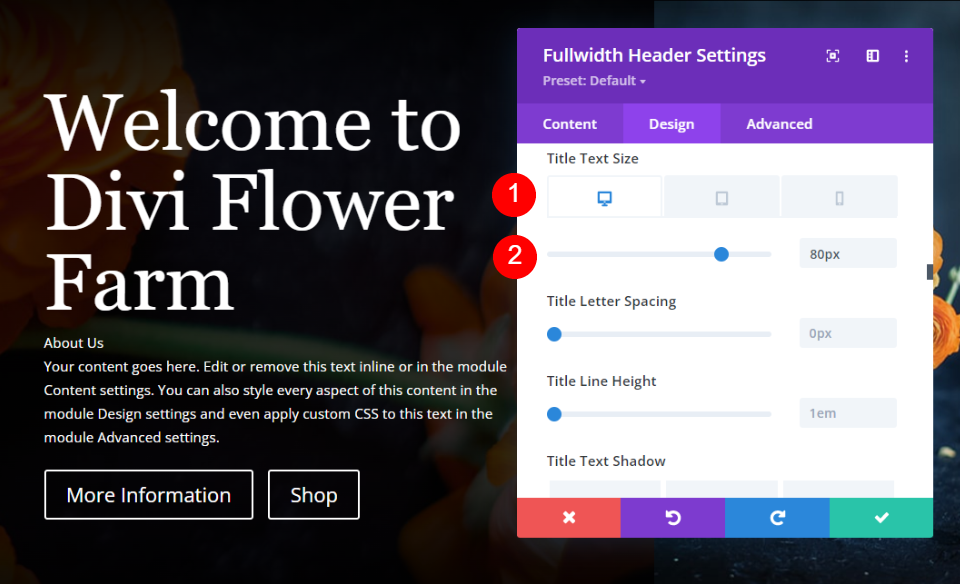
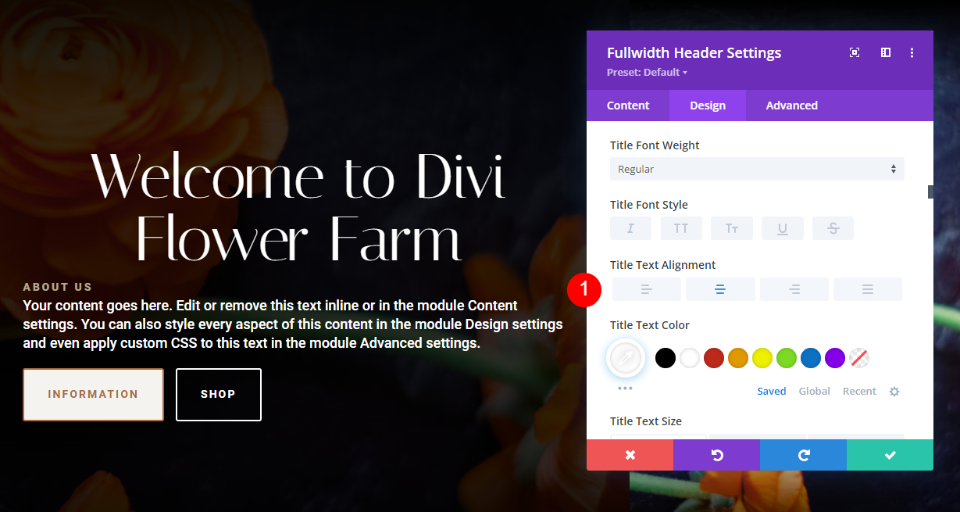
Select the Design tab and scroll down to Title Text. Select H1 and choose Italiana for the Font. Set the Alignment to Left and choose white for the Color.
- Heading Level: H1
- Font: Italiana
- Alignment: Left
- Color: #ffffff
Set the desktop Size to 80px, the tablet Size to 40px, and the phone Size to 32px.
- Size: 80px Desktop, 40px Tablet, 32px Phone
Body Text
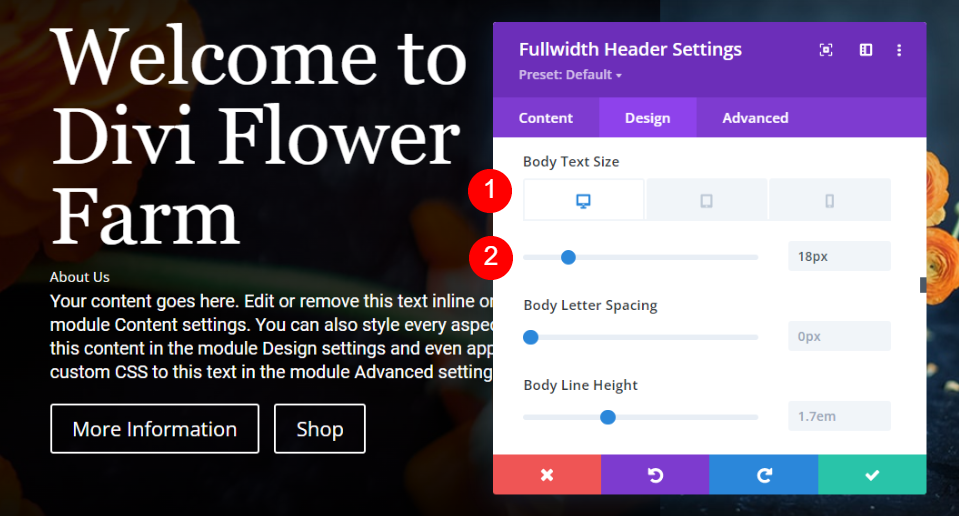
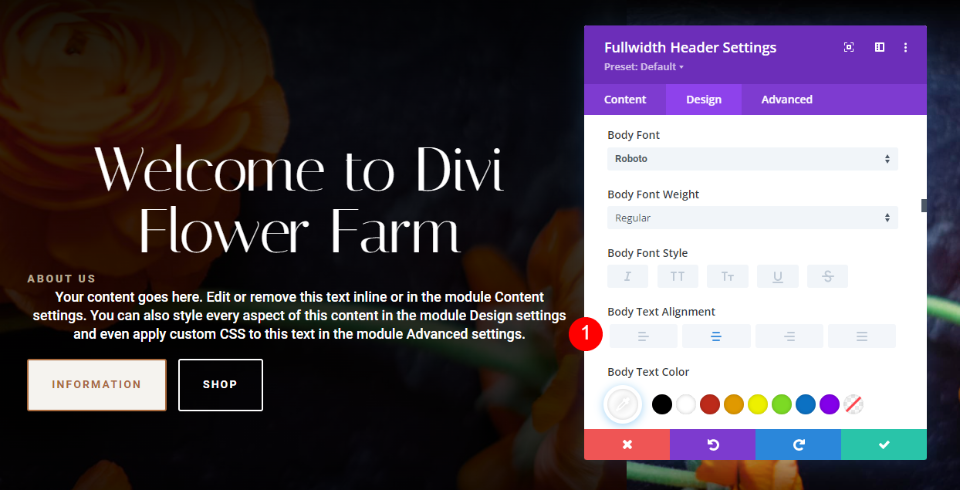
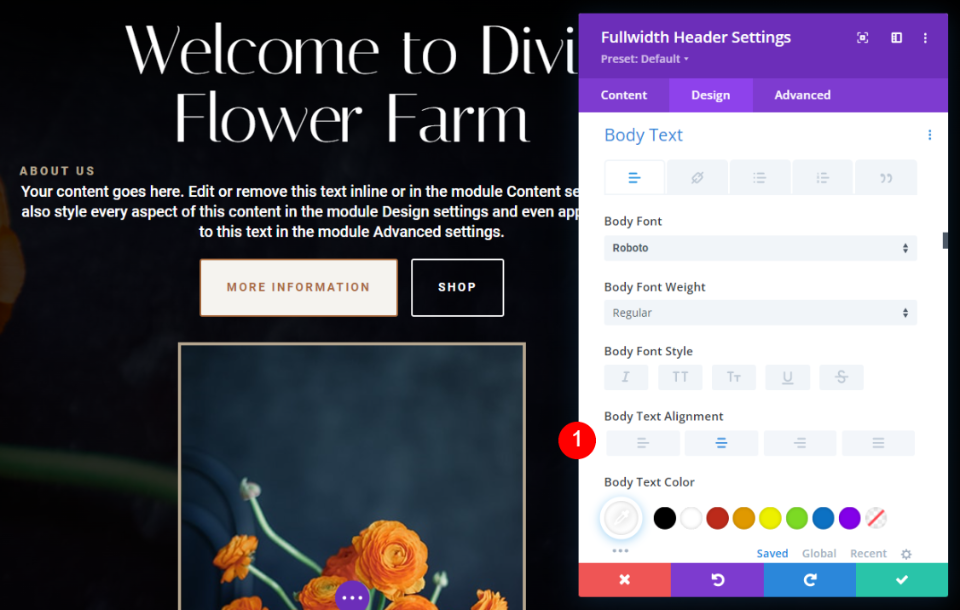
Next, scroll down to Body Text. Set the Alignment to Left, choose Roboto for the Font, and change the Color to white.
- Alignment: Left
- Font: Roboto
- Color: #ffffff

Change the desktop Size to 18px, the tablet Size to 16px, and the phone Size to 14px.
- Text Size: 18px Desktop, 16px Tablet, 14px Phone
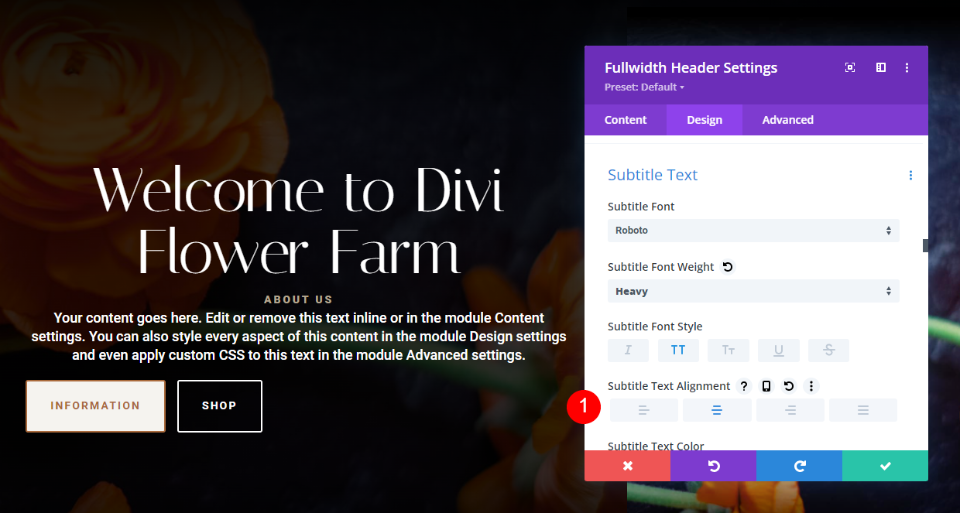
Subtitle Text
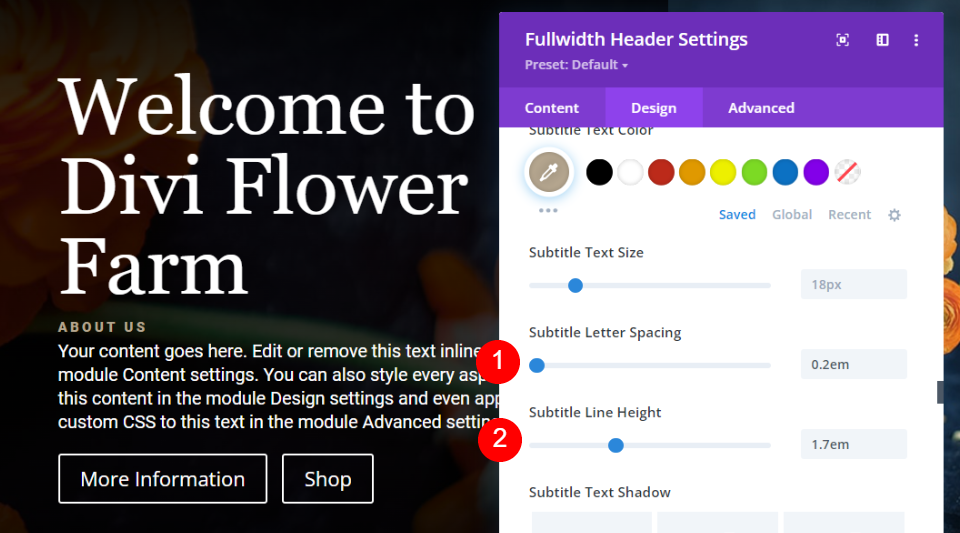
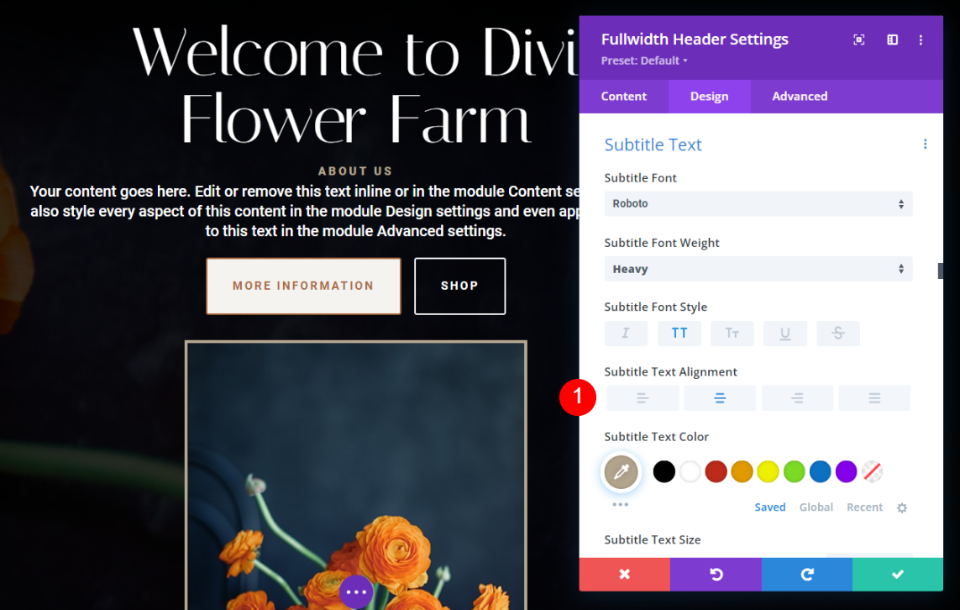
Next, scroll down to Subtitle Text. Choose Roboto for the Font and set the Weight to Heavy. Choose TT for the Style, set the Alignment to Left, and change the Color to #b5a68f.
- Font: Roboto
- Weight: Heavy
- Style: TT
- Alignment: Left
- Color: #b5a68f

Next, change the Spacing to 0.2em, and the Line Height to 1.7em. Leave the Font Size at its default, 18px.
- Spacing: 0.2em
- Line Height: 1.7em
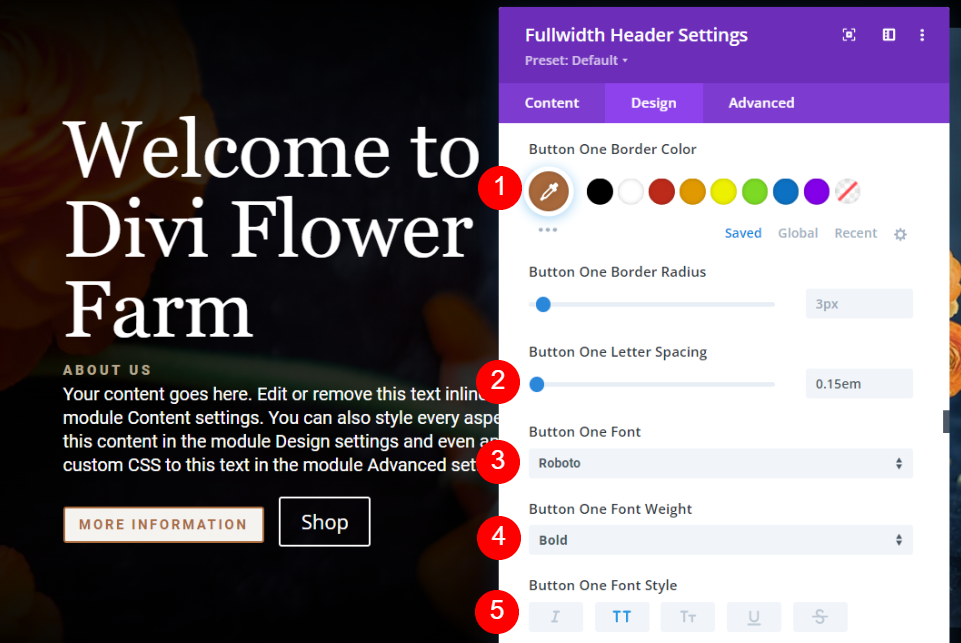
Button One
Scroll down to Button One and select Use Custom Styles for Button One. Set the Font Size to 14px, the Text Color to #aa6a3c, and the Background Color to #f5f3ef.
- Use Custom Styles for Button One: Yes
- Font Size: 14px
- Text Color: #aa6a3c
- Background Color: #f5f3ef
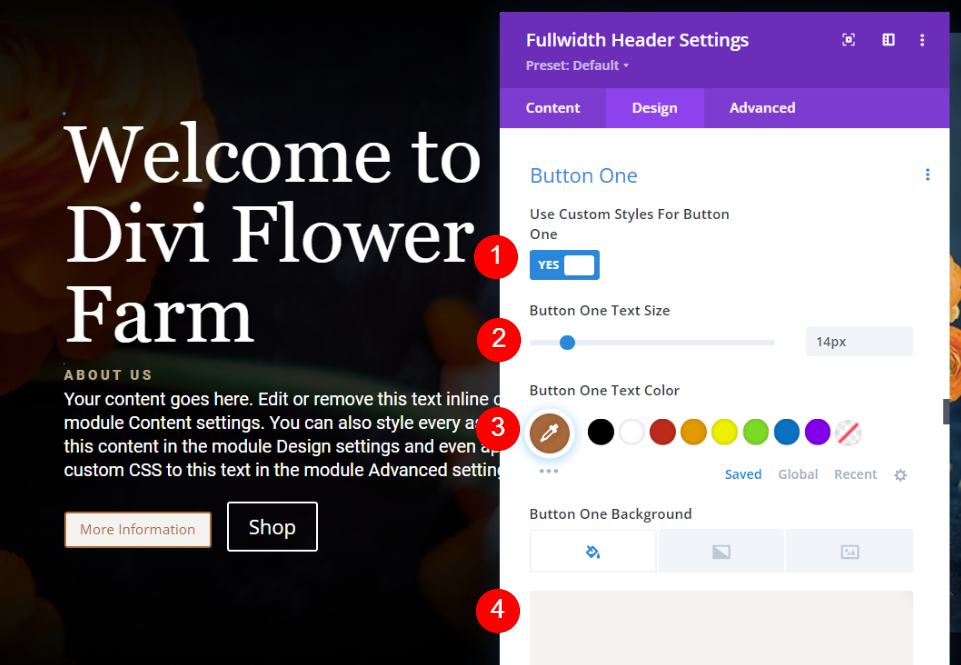
Set the Border Color to #aa6a3c, the Letter Spacing to 0.15em, the Font to Roboto, the Weight to Bold, and the Style to TT.
- Border Color: #aa6a3c
- Letter Spacing: 0.15em
- Font: Roboto
- Weight: Bold
- Style: TT
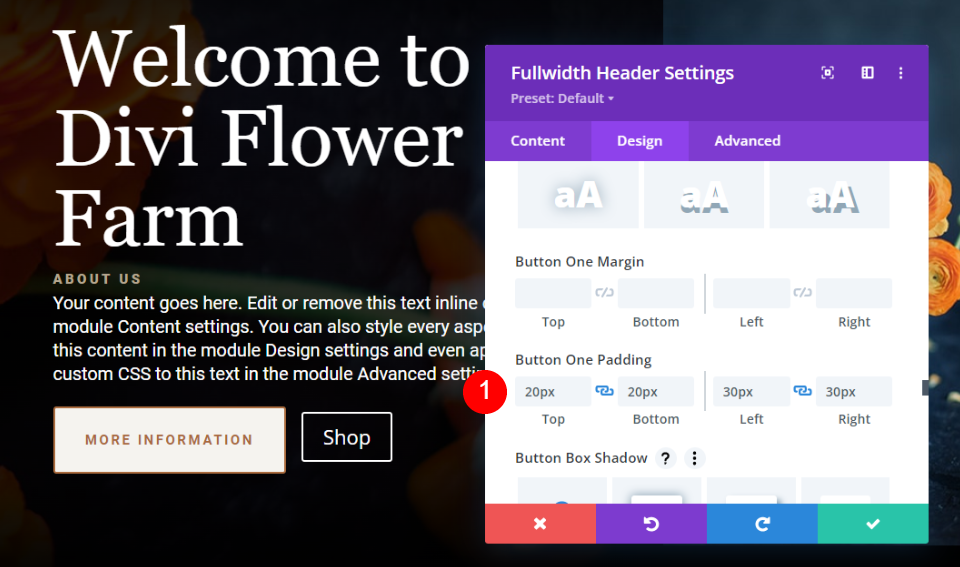
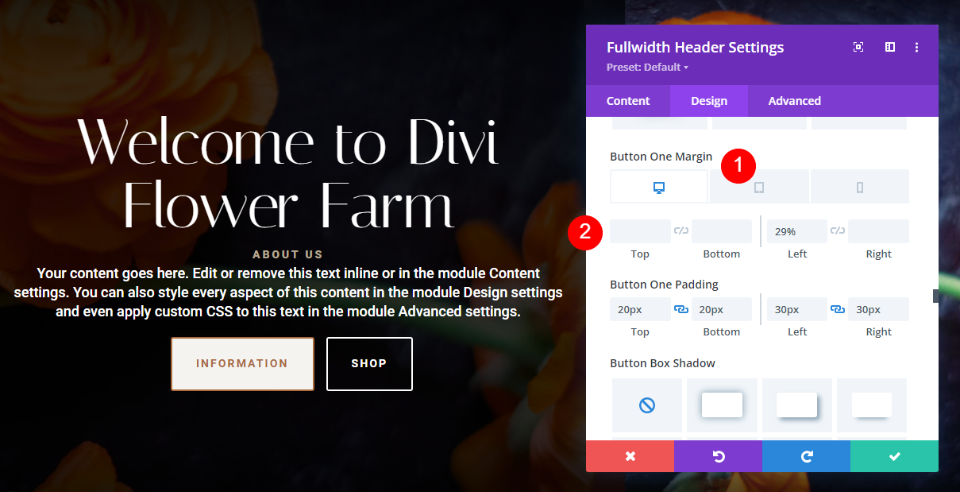
Scroll down to Button One Padding. Change the Top and Bottom Padding to 20px and the Left and Right Padding tot 30px.
- Padding: Top, Bottom 20px, Left, Right 30px
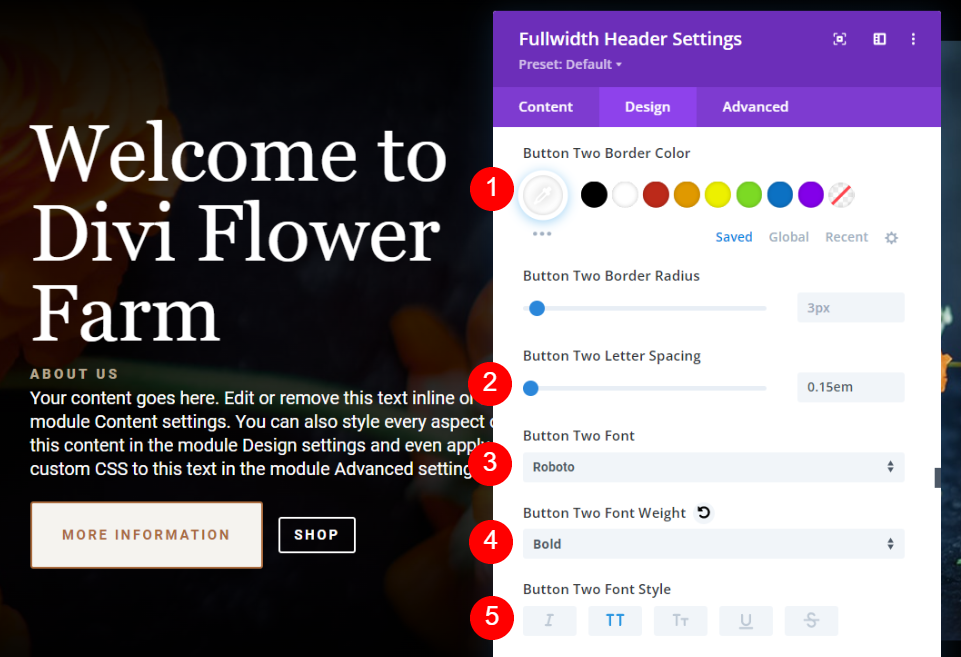
Button Two
Next, scroll down to Button Two. Select Use Custom Styles for Button Two. Set the Font Size to 14px, the Text Color to white, and the Background Color to rgba(255,255,255,0).
- Use Custom Styles for Button Two: Yes
- Font Size: 14px
- Text Color: #ffffff
- Background Color: rgba(255,255,255,0)

Set the Border Color to white, the Letter Spacing to 0.15em, the Font to Roboto, the Weight to Bold, and the Style to TT.
- Border Color: #ffffff
- Letter Spacing: 0.15em
- Font: Roboto
- Weight: Bold
- Style: TT
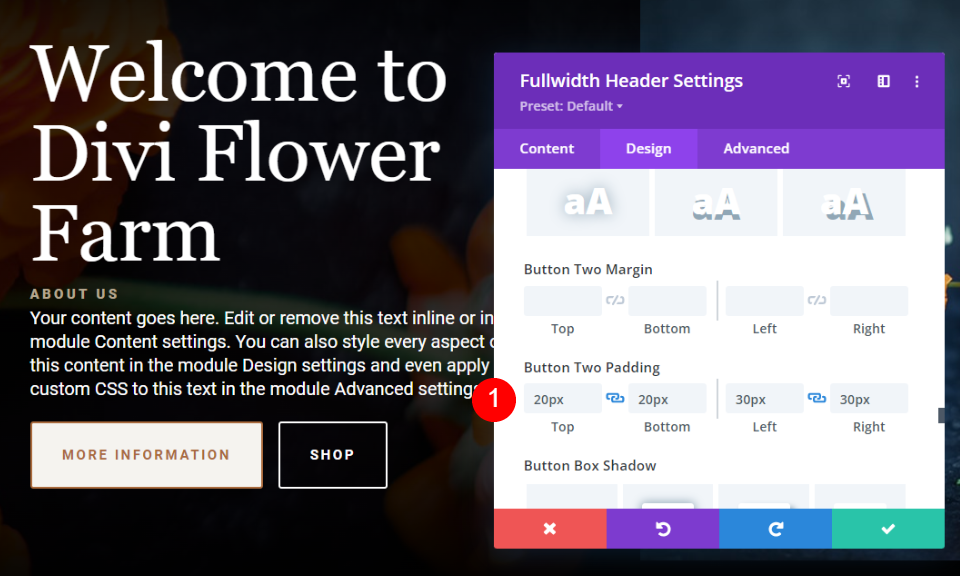
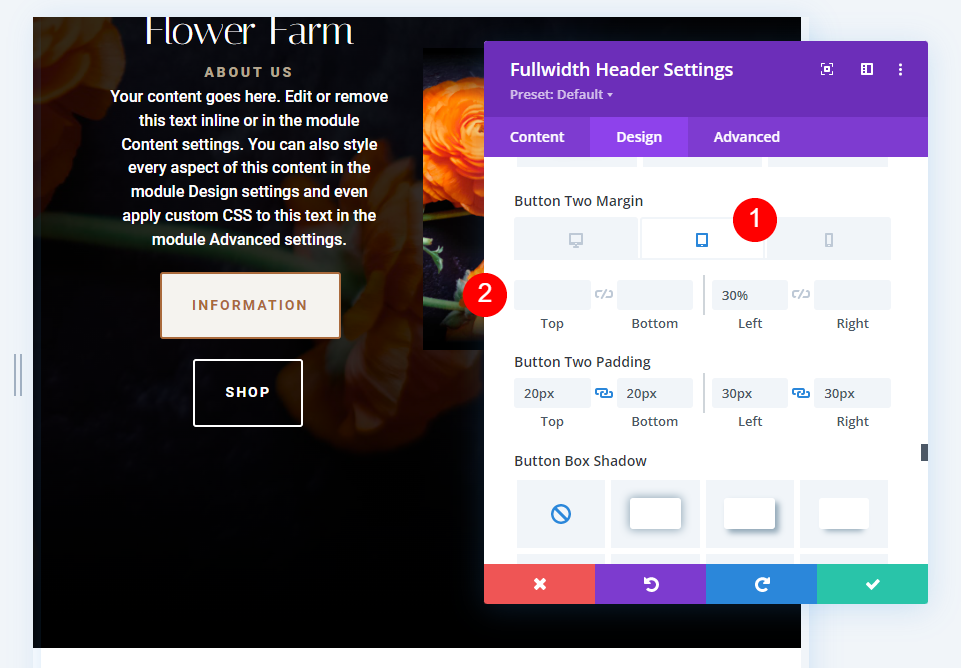
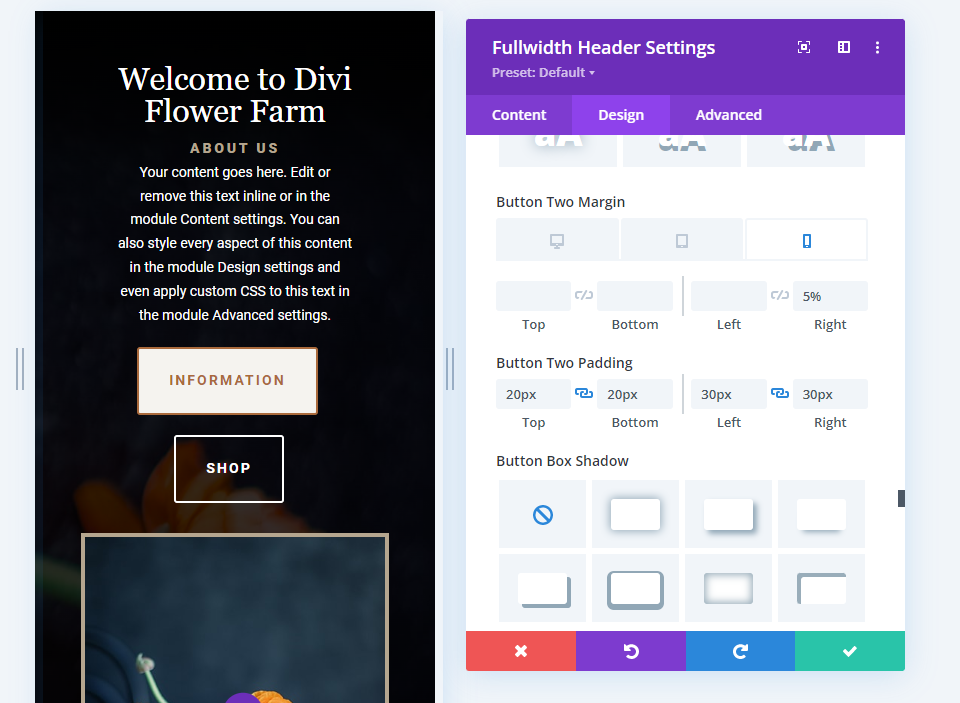
Scroll down to Button Two Padding and set the Top and Bottom Padding to 20px, and the Left and Right Padding to 30px. That’s it for the Fullwidth Header Module styling. Now, we’ll see three ways to style the image.
- Padding: Top, Bottom 20px, Left, Right 30px
Fullwidth Header Image Style Examples
Here’s a look at three examples using our layout as a starting point. I’ll make some adjustments to the layout for each of the examples.
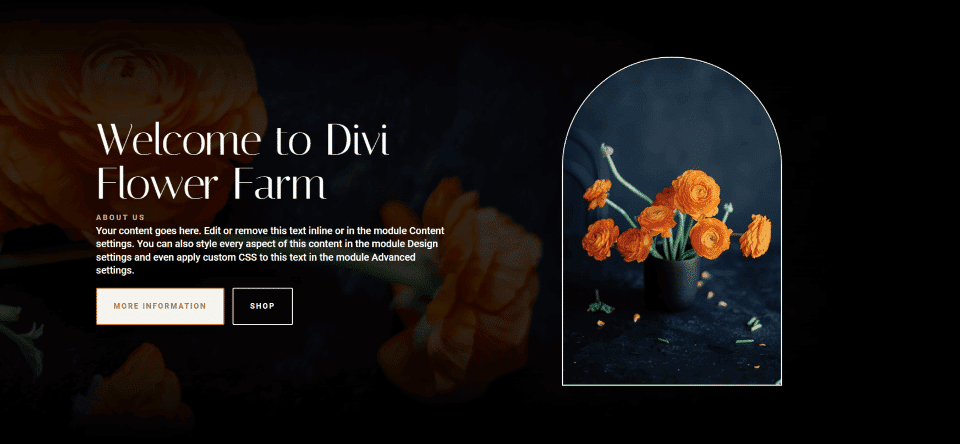
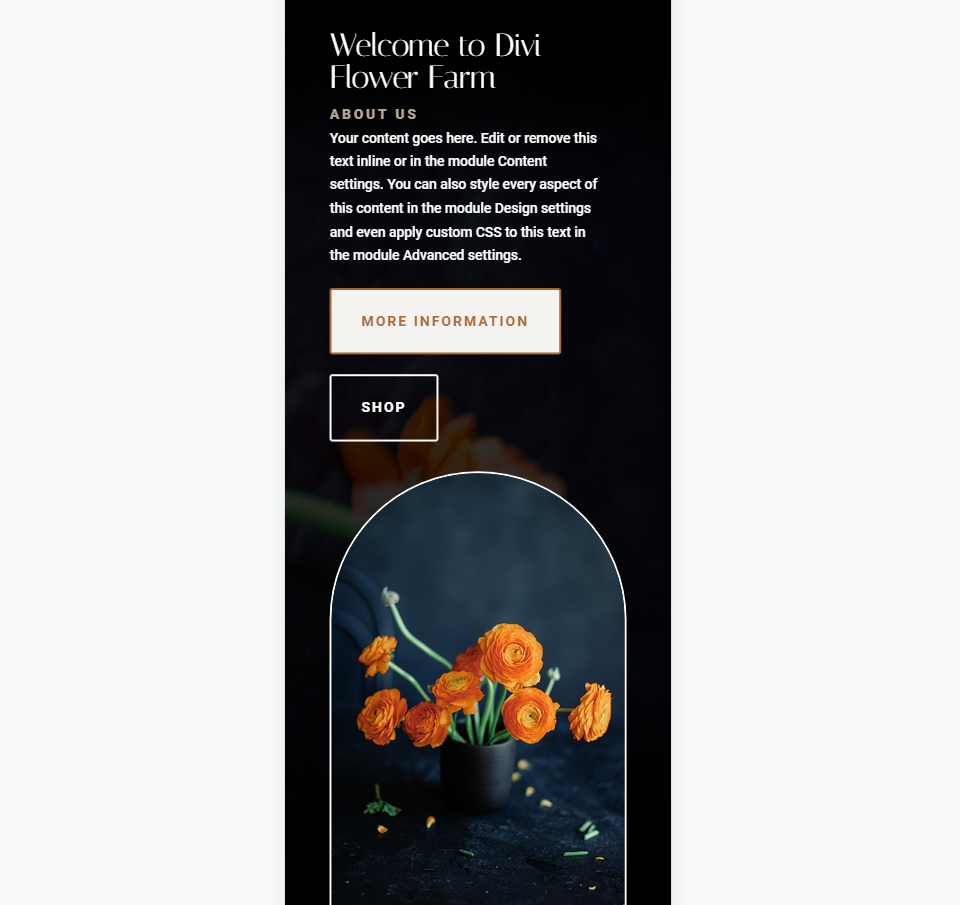
Fullwidth Header Image Example One
For our first Fullwidth Header Image example, we’ll create a rounded top with a border. Go to the Design tab and scroll down to Image. Un-sync the Values and change the Top Border to 400px.
- Top Right and Left Border: 400px
- Bottom Right and Left Border: 0px
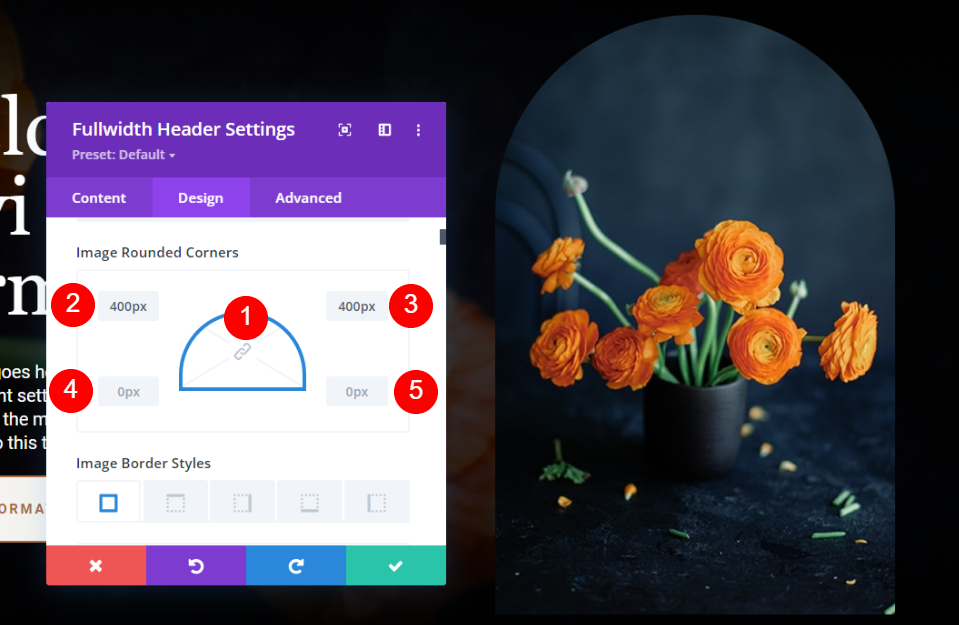
Change the Border Width to 2px and the Border Color to white.
- Width: 2px
- Color: #ffffff
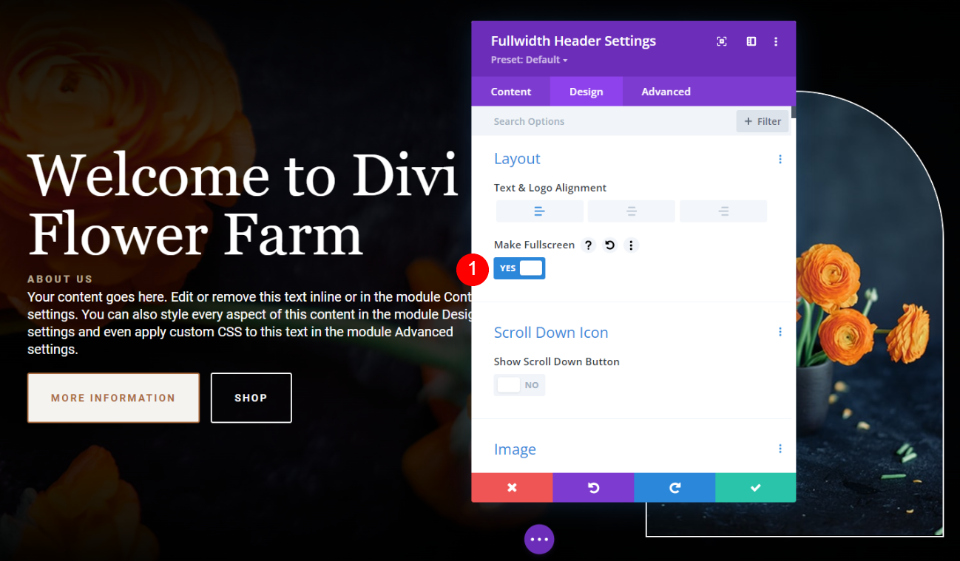
Next, we’ll adjust the Alignment of the text and image to adjust their placement on the screen. For this example, we’ll leave the image and text in their current positions, but we’ll change the vertical alignment for the text and buttons. Selecting Fullscreen opens an option for Vertical Text Alignment in the Text options.
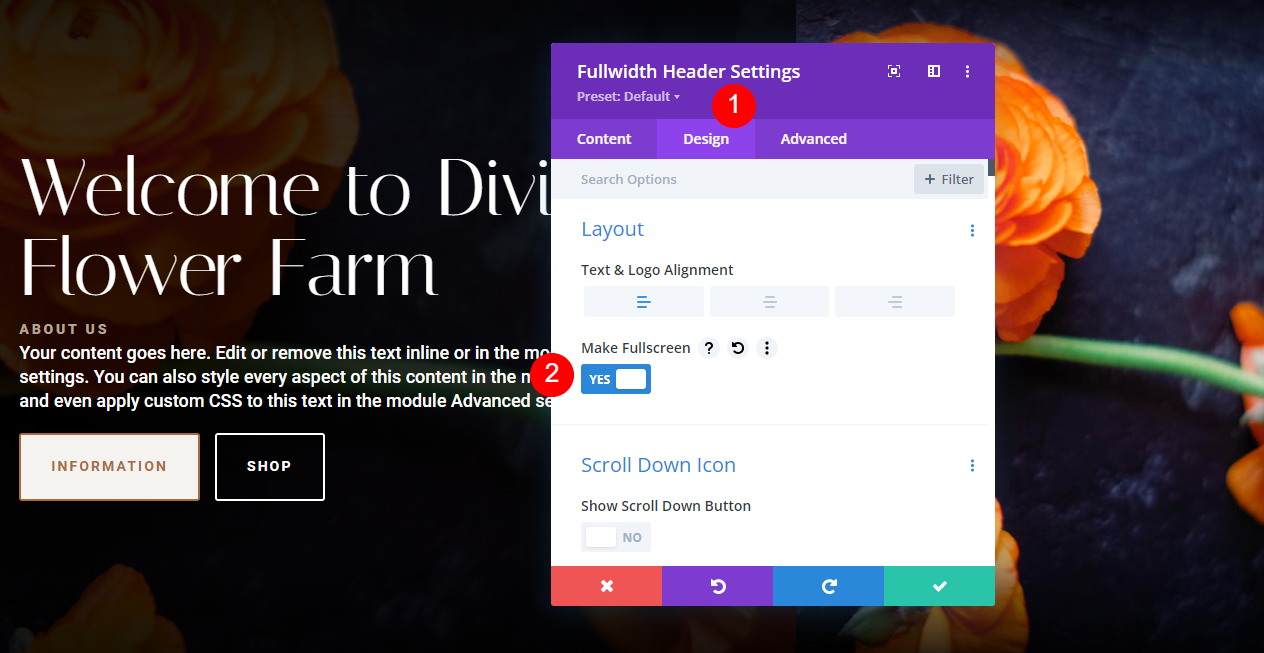
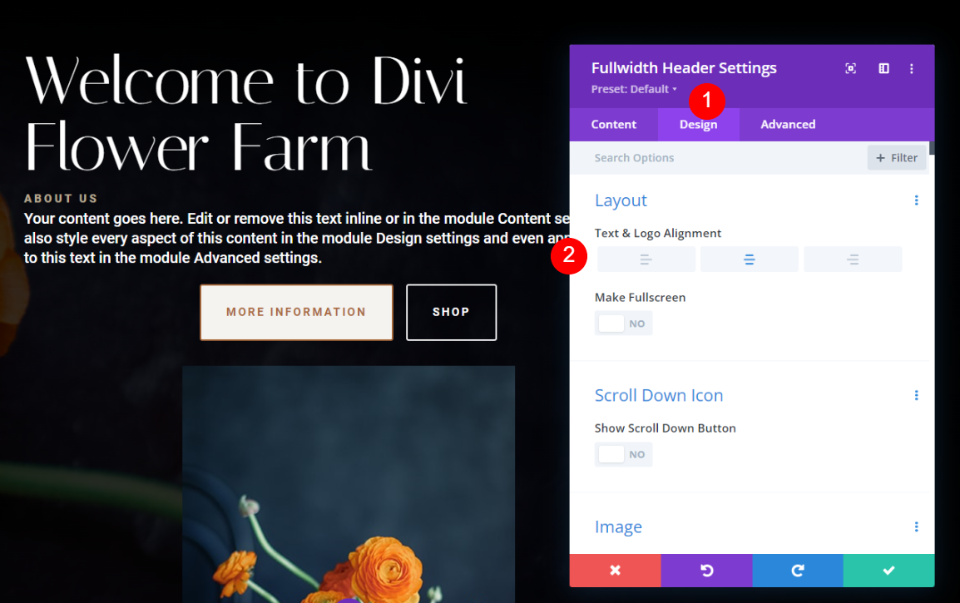
First, go to the Design tab. Under Layout, set the Text Alignment to right and enable Make Fullscreen.
Lastly, scroll down to Text. You’ll now see an option labeled Text Vertical Alignment. Set it to Bottom. Close the module and save your settings.
- Text Vertical Alignment: Bottom
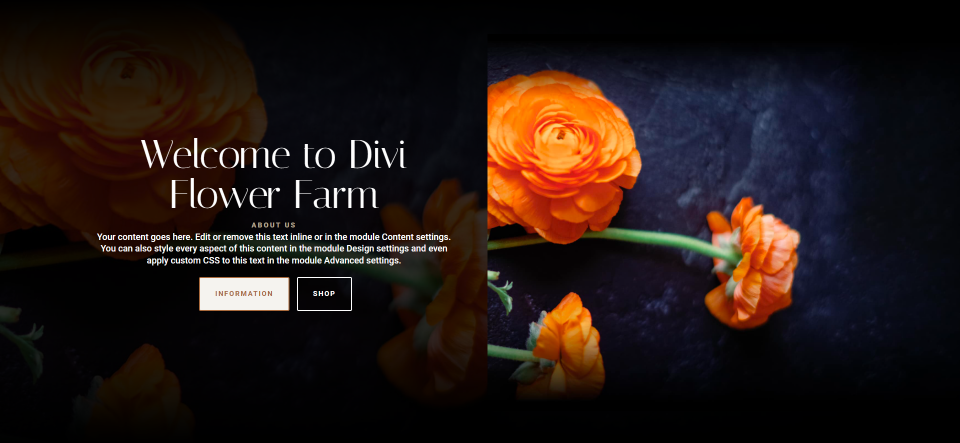
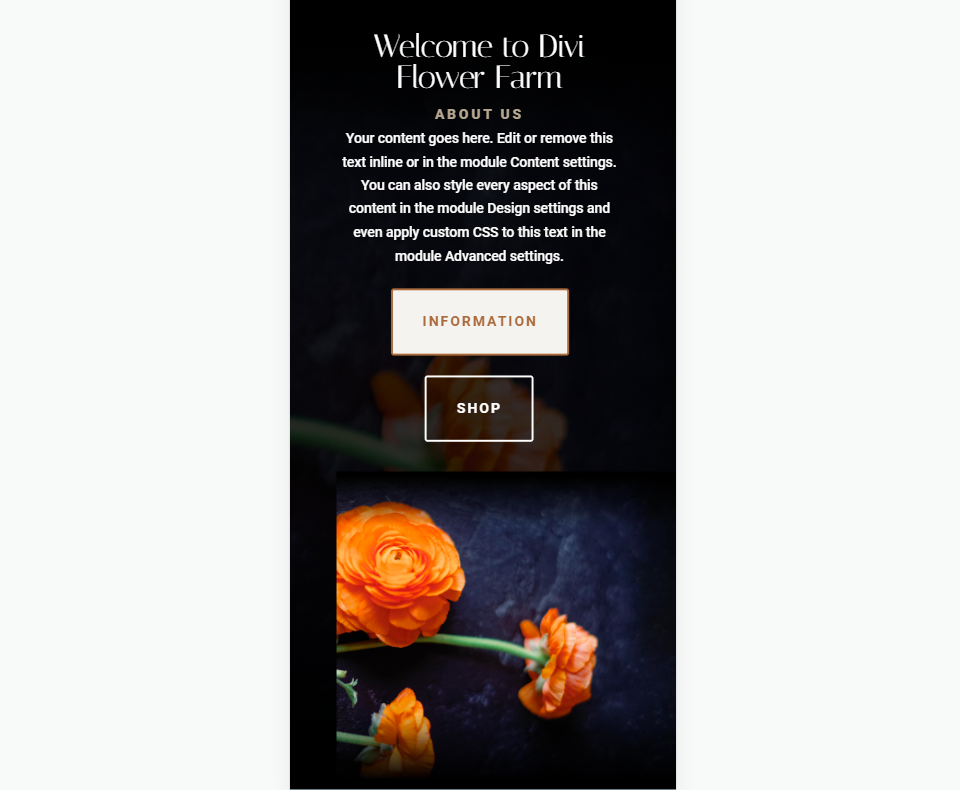
Fullwidth Header Image Example Two
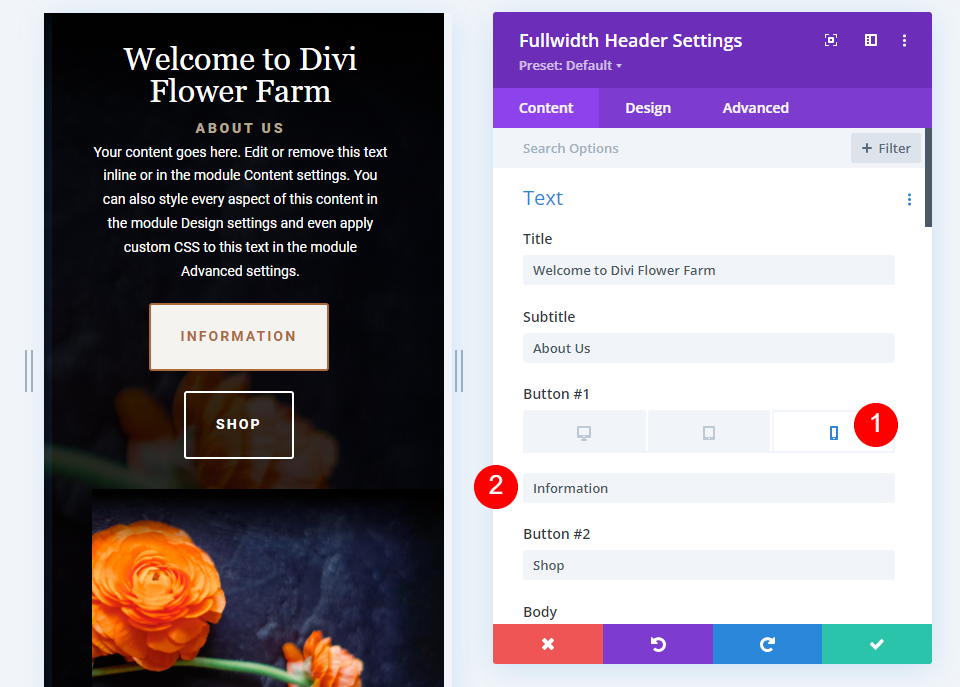
For this example, we’ll use a different button text and image. First, change the Button One text to Information.
- Button One Text: Information
Next, scroll down to Background and choose a different image. This image will take around 1/3 of the screen’s width. I’m using the same image as the background.
- Header Image: Large Image

Next, go to the Advanced tab and scroll down to the Header Image field. Add CSS to set the width to 150% and the Height to auto. Close the module and save your settings.
Header Image CSS:
max-width: 150%;
height: auto;

Now with the image and button text in place, we’ll make our adjustments. We can adjust the Alignment of the text and image to adjust their placement on the screen. First, go to the Design tab. Under Layout, leave the Text Alignment to Left and enable Make Fullscreen.
Next, scroll to Title Text and set the Alignment to Center.
- Title Text Alignment: Center
Next, scroll down to Body Text. Change the Text Alignment to Center.
Next, scroll to Subtitle Text and set the Alignment to Center.
- Subtitle Text Alignment: Center
Scroll down to Button One Margin and change the Left Margin to 29% for desktops, 18% for tablets, and 19% for phones.
- Button One Left Margin: 29% desktop, 18% tablet, 19% phone
Scroll down to Button Two Margin and change the Left Margin to 30% for tablets, and 31% for phones.
- Button Two Left Margin: 30% tablet, 31% phone
Scroll down to Sizing and set the Width to 104% for phones. This centers the content correctly for narrow screens.
Fullwidth Header Image Example Three
First, go to the Design tab. Under Layout, set the Text Alignment to Right. In my case, the text is left-aligned, but yours might be centered if you haven’t specified the alignment.
- Text & Logo Alignment: Center
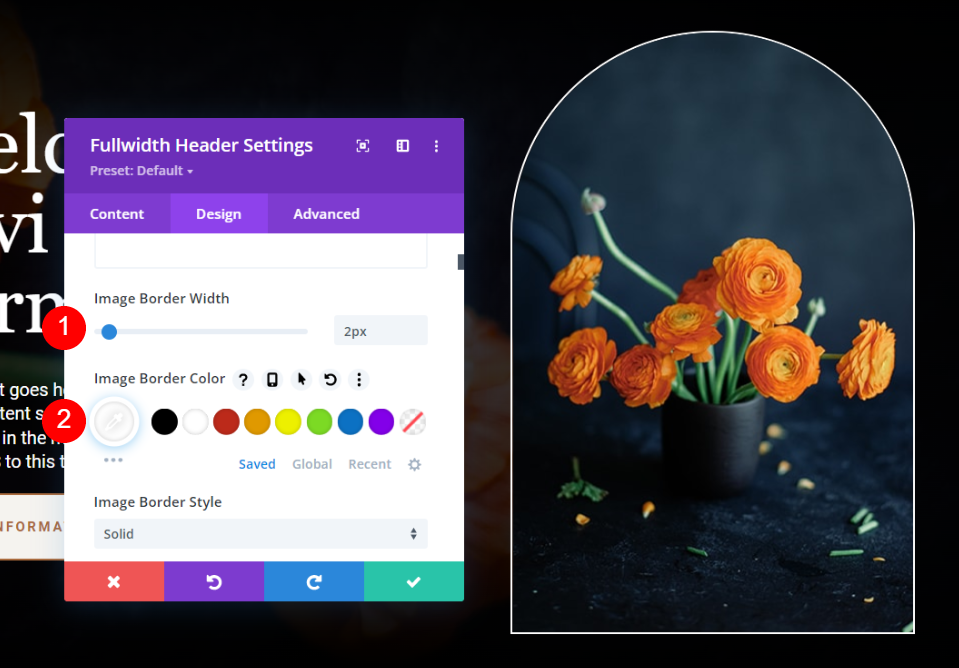
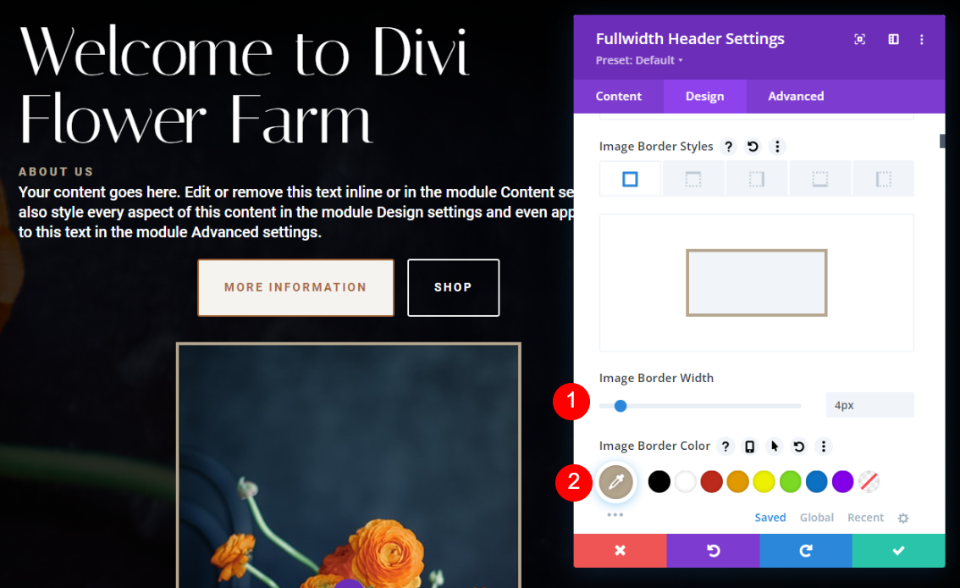
Scroll down to Image. Change the Border Width to 4px and the Border Color to #b5a68f.
- Border Width: 4px
- Border Color: #b5a68f
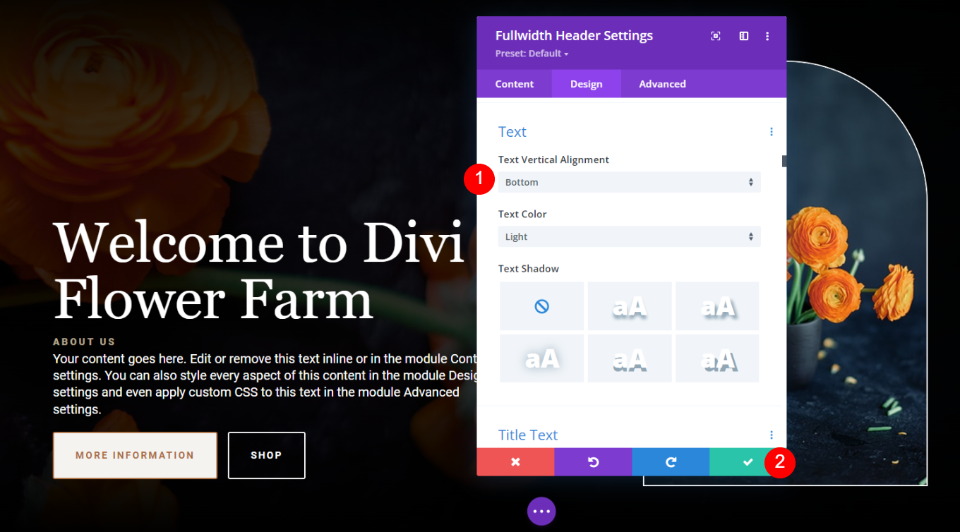
Next, scroll to Title Text and change the Alignment to Centered.
- Title Text Alignment: Centered
Scroll to Body Text and change the Alignment to Centered.
- Body Text Alignment: Centered
Next, scroll to Subtitle Text and change the Alignment to Centered.
- Subtitle Text Alignment: Centered
Next, go to the Content tab and change the Button One text to Information just for phones.
- Button One Content for Phones: Information
Go back to the Design tab and add a 5% Right Margin to Button Two’s phone tab.
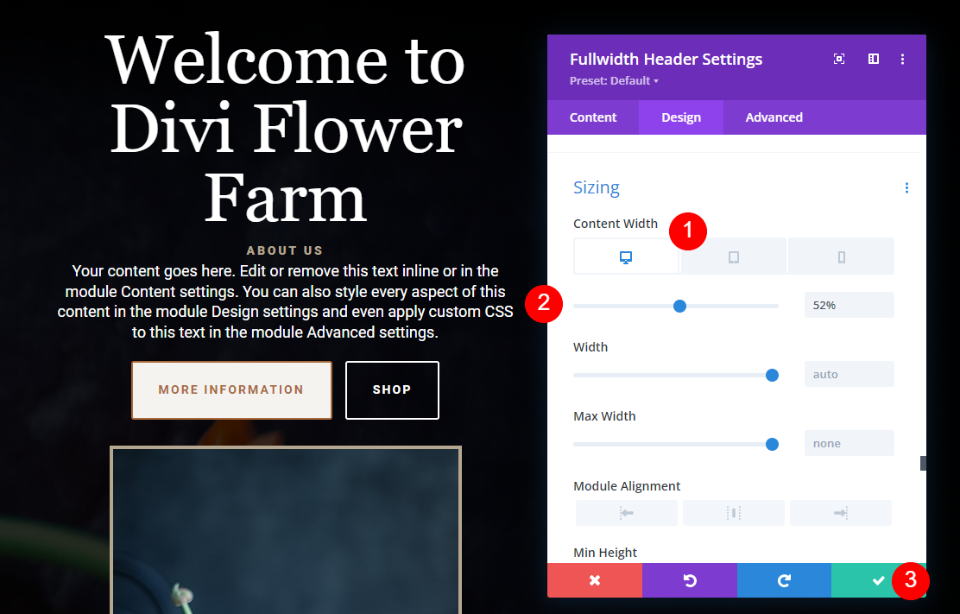
Lastly, scroll down to Sizing and set Content Width to 52% for desktops, and 100% for tablets and phones. Close the module and save your settings.
- Content Width: 52% desktop, 100% tablet and phone
Results
Desktop Fullwidth Header Image Example One
Phone Fullwidth Header Image Example One
Desktop Fullwidth Header Image Example Two
Phone Fullwidth Header Image Example Two
Desktop Fullwidth Header Image Example Three
Phone Fullwidth Header Image Example Three
Ending Thoughts
That’s our look at how to style your Divi Fullwidth Header Module. The image is easy to style, and it can be placed in several locations within the module. The module’s various layout options give you lots of design possibilities. Be sure to test your designs on all screen sizes to ensure the best user experience.
We want to hear from you. Have you styled your images in Divi’s Fullwidth Header Module? Let us know about your experience in the comments.